- Craft Glitter: Stunning Must-Have Tips for Beginners
- Understanding Craft Glitter
- Choosing the Right Glitter
- Types of Glitter
- Quality of Glitter
- Essential Tools for Glitter Application
- Tips for Using Craft Glitter Effectively
- 1. Prepare Your Workspace
- 2. Use a Two-Step Adhesive Method
- 3. Experiment with Blending Colors
- 4. Master the Art of Layering
- 5. Avoid Excess Glitter
- 6. Seal the Sparkle
- 7. Custom Containers for Storage
- Ideas for Craft Glitter Projects
- Glittered Greeting Cards
- Sparkling Ornaments
- Glitter-Dusted Frames
- Customized Party Supplies
- Final Thoughts
Craft Glitter: Stunning Must-Have Tips for Beginners
Craft glitter can transform ordinary projects into dazzling works of art. Whether you’re adorning greeting cards, creating stunning decorations, or adding sparkle to your home décor, understanding how to work with glitter can elevate your crafting game. This article will provide you with essential tips, tricks, and techniques to use craft glitter effectively, focusing on the different types available, including fine glitter and gold glitter.
Understanding Craft Glitter
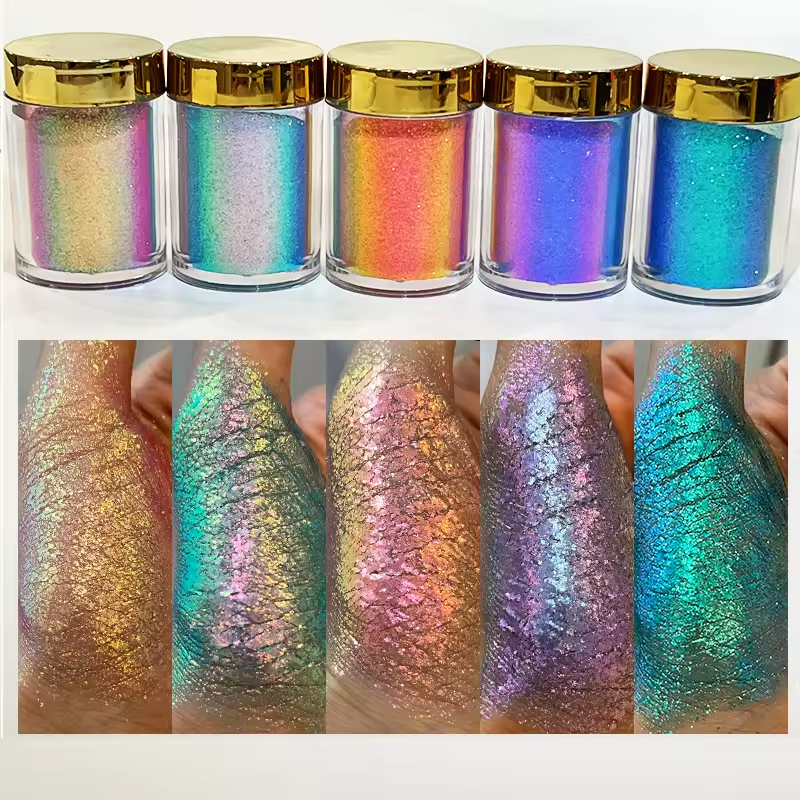
Before diving into the techniques, it’s important to understand what craft glitter is. Crafted from small, reflective particles that come in various sizes, colors, and shapes, glitter adds a shimmering touch to any creative endeavor. The most common types include fine glitter, which offers a subtle sparkle, and chunky glitter, which is more dramatic. Gold glitter, in particular, is a favorite among crafters for its timeless elegance and versatility.
Choosing the Right Glitter
Types of Glitter
When navigating the world of craft glitter, familiarity with the various types is crucial. Here’s a rundown of some popular options:
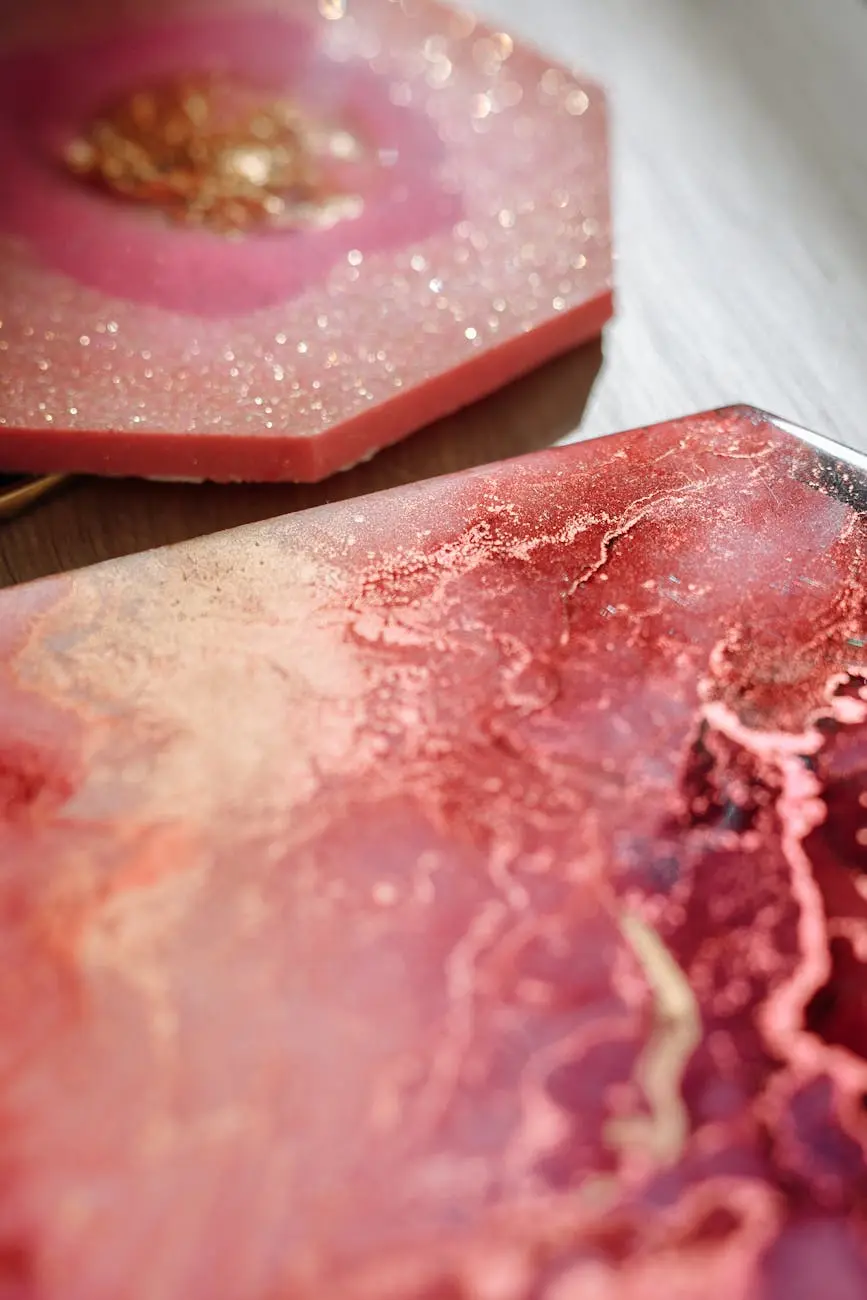
– Fine Glitter: This type is often used for detailed work as it provides a smooth and consistent sparkle. It’s excellent for card making, adding to resin projects, or dusting over wet paint.
– Chunky Glitter: Larger particles create a bolder effect. This glitter is perfect for embellishing larger surfaces, like canvas art or holiday ornaments.
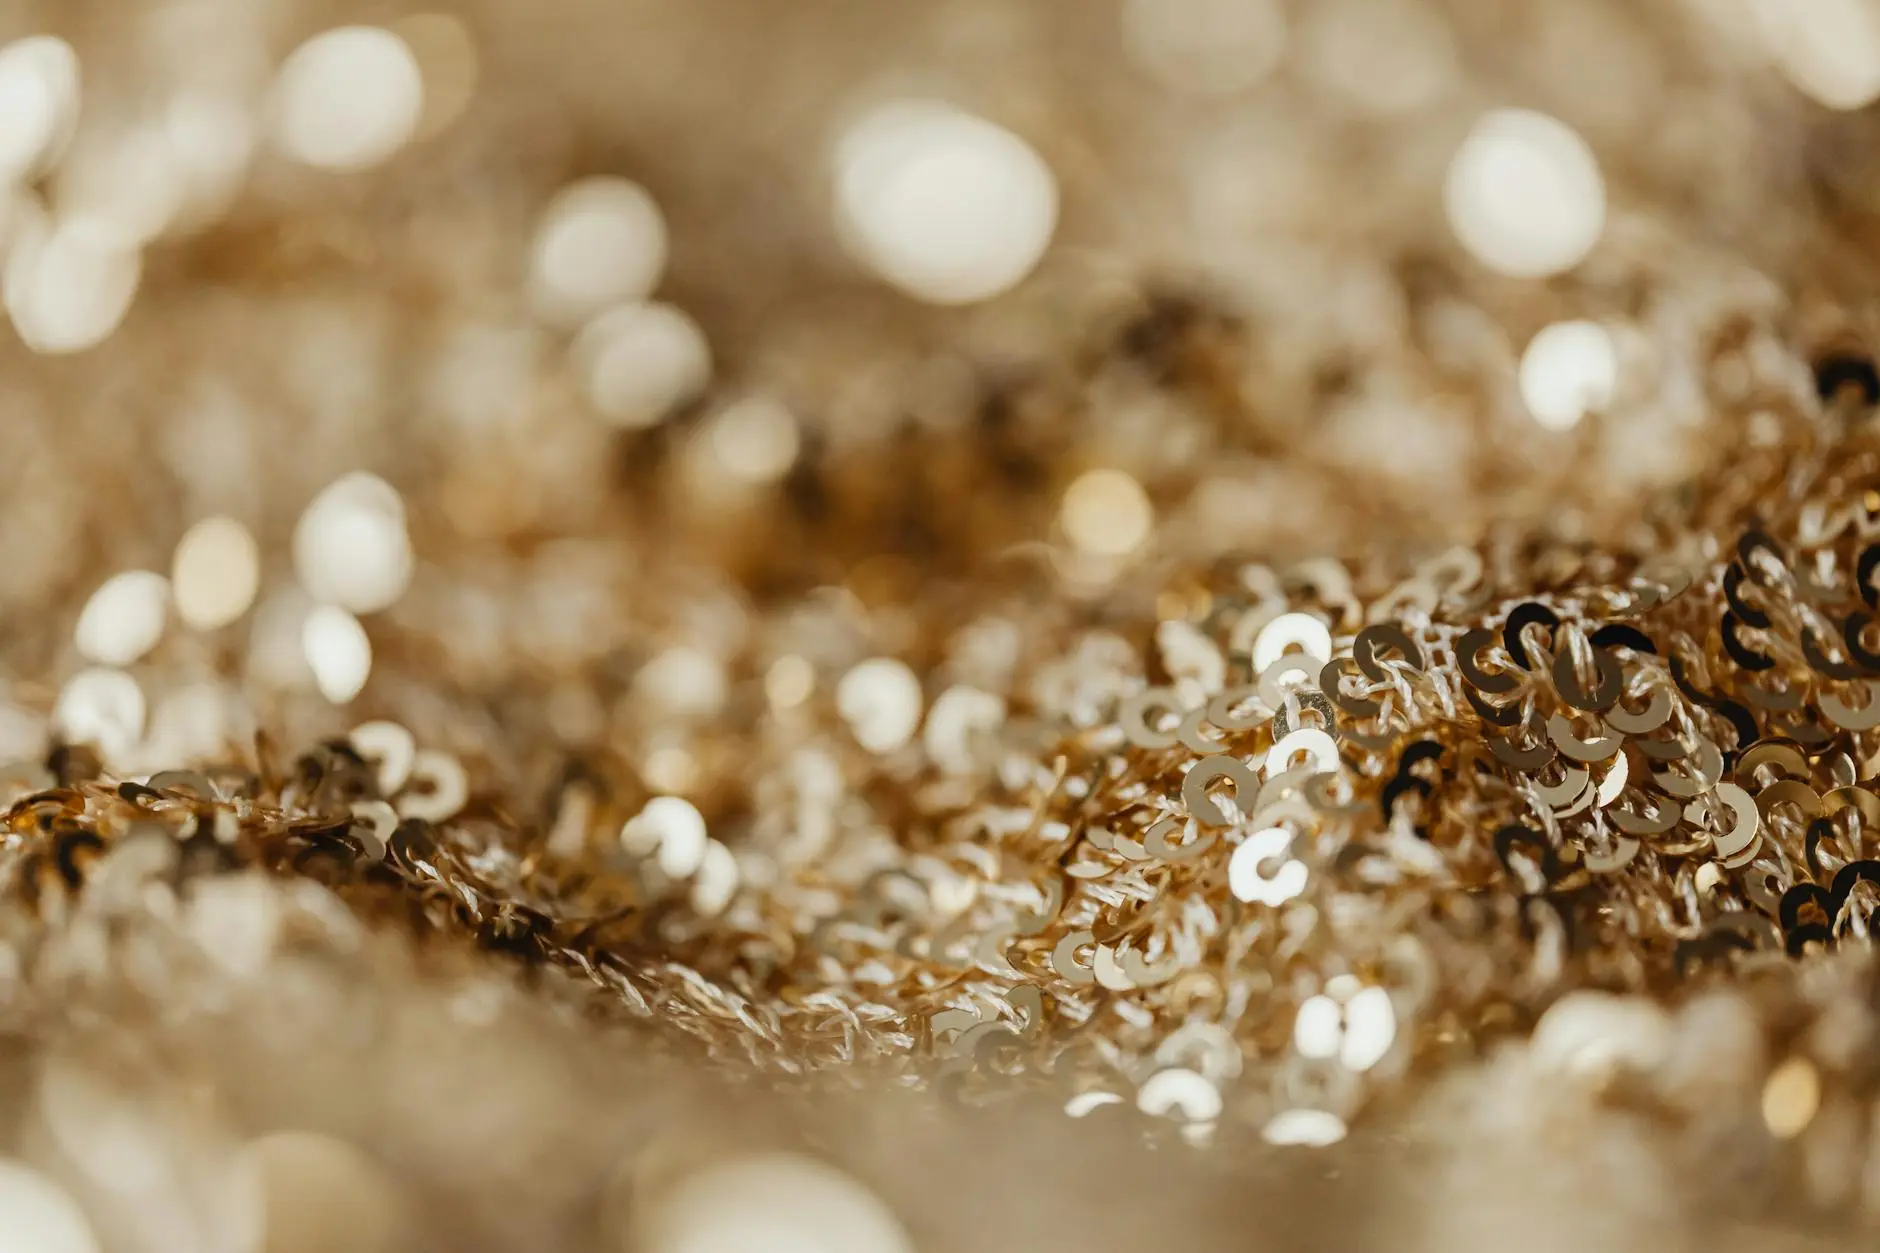
– Gold Glitter: Its rich hue makes gold glitter suitable for both festive and elegant projects. It complements many colors and adds a touch of luxury.
– Opaque vs. Transparent Glitter: Opaque glitter has a solid color, while transparent glitter allows the base material to show through. Choose according to the desired effect.
Quality of Glitter
Not all glitter is created equal. When starting out, it’s a good idea to invest in high-quality glitter that won’t easily fade or lose its shine. Look for brands known for their longevity and vibrant colors.
Essential Tools for Glitter Application
To achieve the best results, you’ll need a few essential tools to accompany your glitter:
– Adhesives: Depending on your project, you may need different types of adhesive. Glue sticks, Mod Podge, and spray adhesives are popular choices. Ensure the adhesive is compatible with the materials you’re working with.
– Brushes and Sponges: A variety of brushes can help apply adhesive evenly and make it easier to adhere glitter without making a mess. A sponge brush is particularly useful for spreading glue over larger areas.
– Craft Tray or Paper Plate: This will help in containing the mess when pouring glitter over a project, making cleanup easier.
– Sealants: To protect your finished project, using a sealant will keep the glitter from flaking off over time. Look for clear spray sealants that are designed for craft use.
Tips for Using Craft Glitter Effectively
Now that you have a clear understanding of the types of glitter and necessary tools, let’s explore some must-have tips for using craft glitter effectively.
1. Prepare Your Workspace
Before starting, it’s important to set up your workspace properly. Lay down some newspaper or a plastic sheet to catch any falling glitter. This will save you time during cleanup and help you avoid unnecessary stress.
2. Use a Two-Step Adhesive Method
For projects requiring a more secure finish, consider using a two-step adhesive method:
1. Apply a Layer of Adhesive: Use your chosen adhesive to cover the area where you want the glitter.
2. Add a Second Layer of Adhesive: After applying your first layer, add a second layer of glue—this time, in a different direction. This helps ensure the glitter adheres evenly and thoroughly.
3. Experiment with Blending Colors
Don’t be afraid to mix and match colors. Blending different shades of glitter can create stunning custom colors that make your project unique. Always test the mixture on a small surface before applying it to your final product; this ensures you’re pleased with the outcome.
4. Master the Art of Layering
Layering is key to achieving dimension. Start with a base layer of glue and sprinkle fine glitter over it, then, for extra sparkle, add a layer of chunky glitter on top. This adds depth and an intriguing visual texture to your project.
5. Avoid Excess Glitter
One of the biggest mistakes beginners make is using too much glitter. A thin layer is often more effective than a thick, clumpy one. Sprinkle just enough glitter to cover the adhesive without drowning it. If there’s too much, tap off the excess gently.
6. Seal the Sparkle
After applying glitter, it’s essential to seal your project properly. Using a clear sealant can prevent glitter from flaking off over time. Apply this once the glue is completely dry. A light spray application should suffice.
7. Custom Containers for Storage
To keep your craft glitter organized, consider using small jars or containers. This not only prevents spills but also allows you to see your glitter collection at a glance. Label the containers for easy identification.
Ideas for Craft Glitter Projects
If you’re looking for inspiration, here are some creative project ideas that effectively incorporate craft glitter:
Glittered Greeting Cards
Creating personalized greeting cards can be made spectacularly simple with gold glitter or fine glitter. Use the adhesive to draw patterns or write messages, then sprinkle the glitter for a dazzling finish.
Sparkling Ornaments
Transform ordinary clear ornaments into stunning holiday decorations by filling them with gold glitter. Simply add glitter inside the ornament and shake it to coat the interior.
Glitter-Dusted Frames
Take plain photo frames and turn them into statement pieces by applying a layer of glitter along the edges. This technique works especially well with gold glitter, providing a beautiful touch to any room decor.
Customized Party Supplies
From tableware to gift bags, adding glitter to party supplies can elevate your celebration. Dust cupcakes with edible glitter, or embellish party hats with fine glitter for an eye-catching effect.
Final Thoughts
Craft glitter is a versatile and delightful medium to work with, opening up myriad possibilities for both seasoned crafters and beginners alike. By understanding the types of glitter available, preparing your workspace, and using effective techniques, you’ll be well on your way to sparkling creations. As you gain confidence in your glitter use, don’t hesitate to experiment and invent new projects; the only limit is your imagination. Embrace the sparkle, and let your creativity shine!


