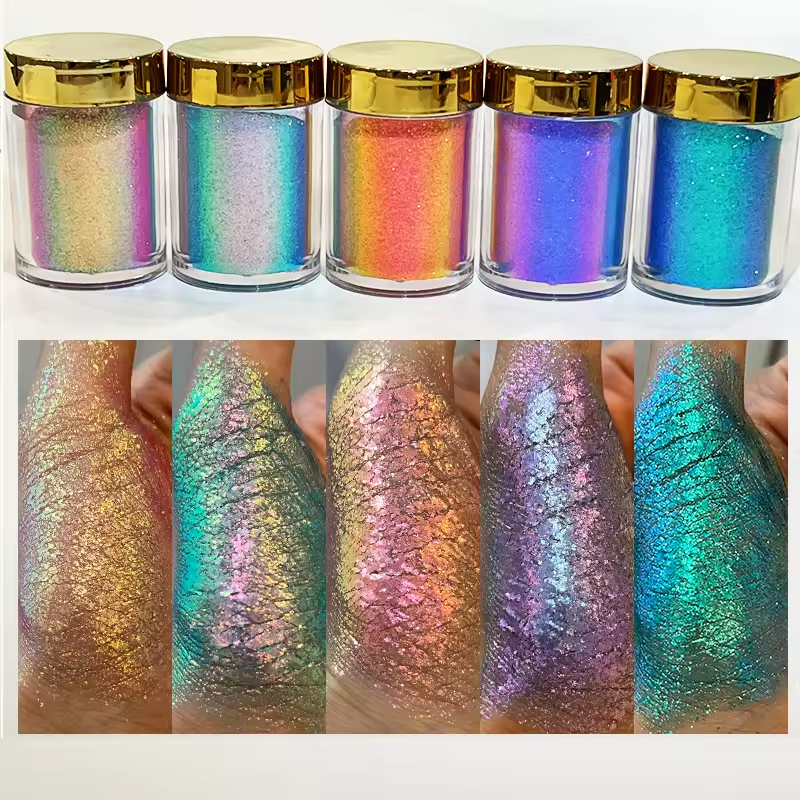
**DIY Glitter Phone Case: A Step-by-Step Guide Using Glittersmall Glitter**
In the world of crafting and personalizing accessories, adding a touch of glitter can instantly elevate the look of any item. One popular and fun DIY project that allows you to showcase your creativity is making a glitter phone case. By using Glittersmall Glitter, you can achieve a dazzling and unique phone case that reflects your style. Follow this step-by-step guide to create your own stunning glitter phone case.
**Materials You Will Need:**
Before starting your DIY project, gather the following materials:
– Clear phone case
– Glittersmall Glitter in your preferred colors
– Mod Podge or clear drying glue
– Paintbrush
– Masking tape
– Paper plate
– Sealant spray (optional)
**Step 1: Prepare Your Workspace**
Find a well-lit and ventilated area to work on your glitter phone case project. Cover the workspace with newspaper or a disposable tablecloth to protect it from glitter and glue.
**Step 2: Prepare Your Phone Case**
Clean your clear phone case thoroughly to ensure that it is free from dust and dirt. This step is crucial to help the glitter adhere properly to the case.
**Step 3: Choose Your Glitter Colors**
Select the Glittersmall Glitter colors you want to use for your phone case. You can choose a single color for a monochromatic look or mix and match different colors for a more vibrant design.
**Step 4: Mix Glitter with Glue**
On a paper plate, mix the Mod Podge or clear drying glue with the Glittersmall Glitter of your choice. The amount of glitter you add will determine the intensity of the sparkle on your phone case.
**Step 5: Apply Glitter Mixture to Phone Case**
Using a paintbrush, apply a thin and even layer of the glitter and glue mixture to your clear phone case. Work in small sections to prevent the glue from drying before you can apply the glitter.
**Step 6: Add Multiple Layers**
For a more opaque and glittery finish, apply multiple layers of the glitter mixture to the phone case. Allow each layer to dry completely before adding the next one.
**Step 7: Let It Dry**
Once you are satisfied with the coverage and sparkle of your glitter phone case, let it dry completely. This step is essential to prevent smudges or fingerprints on the glitter surface.
**Step 8: Seal the Glitter (Optional)**
To protect the glitter and prevent it from shedding, you can spray a sealant over the phone case. Make sure to follow the manufacturer’s instructions when using the sealant spray.
**Step 9: Assemble Your Phone Case**
After the glitter and sealant have dried completely, assemble your phone case back onto your phone. Admire your beautiful creation and show off your personalized glitter phone case to the world!
Creating a DIY glitter phone case using Glittersmall Glitter is a fun and rewarding project that allows you to express your style and creativity. Experiment with different glitter colors and techniques to make unique phone cases for yourself or as thoughtful gifts for friends and family. Let your phone sparkle and shine with a touch of glitter!


