-
Table of Contents
“Sparkle Your Love: Create Heartfelt DIY Wedding Favors with Glitter!”
Create unforgettable memories with DIY wedding favors that sparkle! Our step-by-step guide on making heart glitter favors will add a personal touch to your special day. Don’t miss out on this charming idea—get started now! [Explore Heart Glitter Here](https://www.glittersmall.com/heart-glitter/)
Introduction
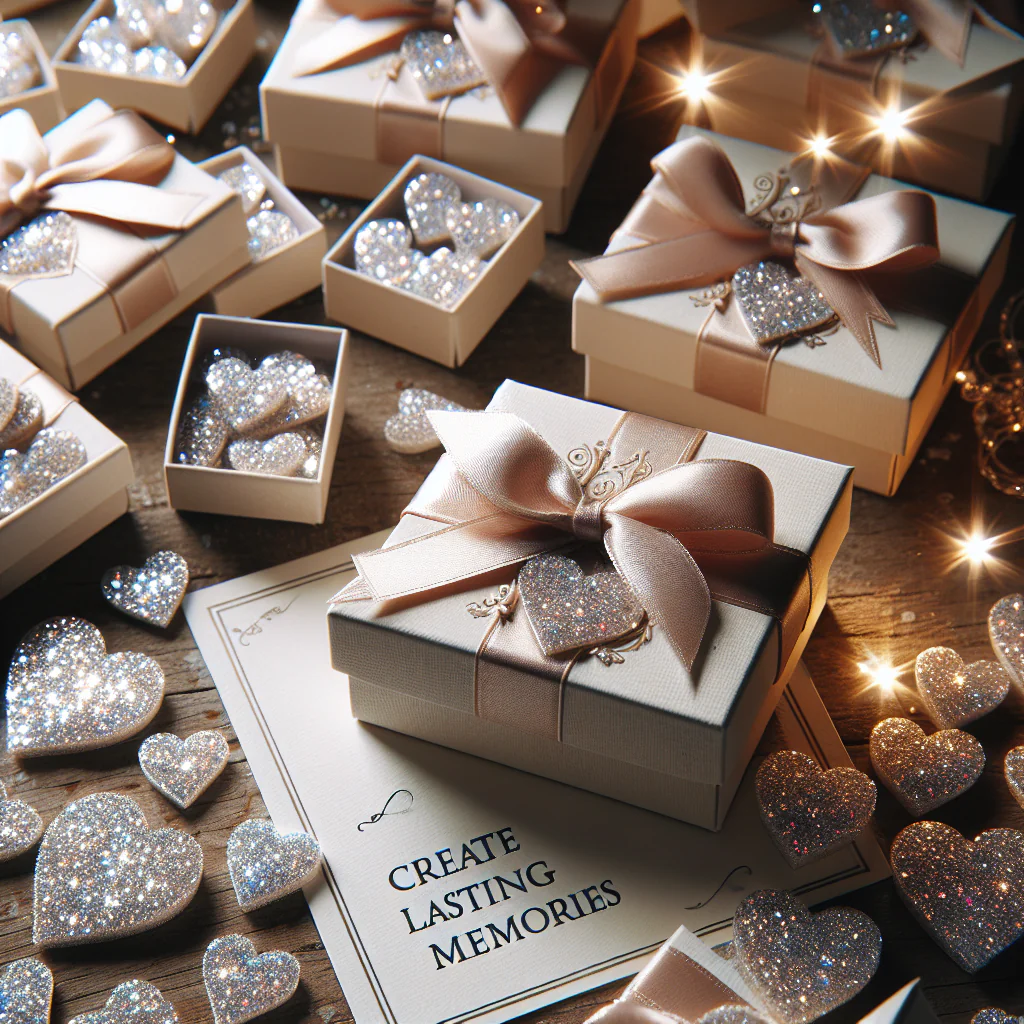
DIY wedding favors with Heart Glitter add a personal and charming touch to your special day. These delightful keepsakes not only express your love but also serve as memorable tokens for your guests. In this step-by-step guide, you’ll learn how to create beautiful Heart Glitter favors that reflect your unique style and theme. From selecting the right materials to crafting and packaging, this guide will help you design stunning favors that your guests will cherish long after the celebration. Get ready to unleash your creativity and make your wedding unforgettable with these sparkling DIY creations!
Heart Glitter Mason Jar Favors: A Step-by-Step Guide
Creating personalized wedding favors can add a unique touch to your special day, and Heart Glitter mason jar favors are an excellent choice for couples looking to infuse their celebration with charm and creativity. These delightful keepsakes not only serve as a token of appreciation for your guests but also reflect the love and joy of your union. To embark on this DIY project, you will need a few essential materials and a clear plan to ensure a seamless crafting experience.
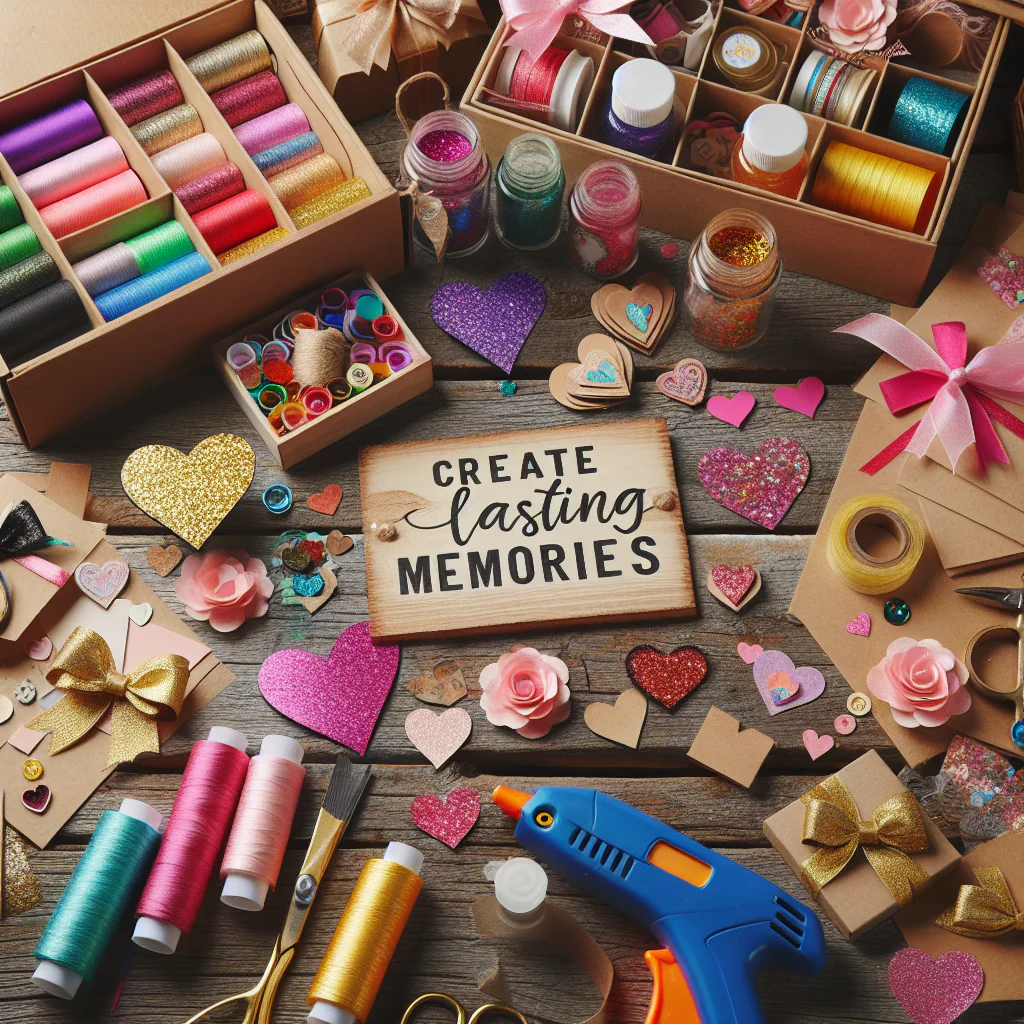
To begin, gather your supplies, which include small mason jars, heart-shaped glitter, adhesive spray or mod podge, paintbrushes, and decorative ribbons or twine. Additionally, consider including small notes or tags with a heartfelt message or the wedding date to personalize each jar further. Once you have assembled your materials, find a clean, well-lit workspace where you can comfortably create your favors.
The first step in crafting your Heart Glitter mason jar favors is to prepare the jars. Start by cleaning each mason jar thoroughly to remove any dust or residue. After ensuring they are dry, apply a thin layer of adhesive spray or mod podge to the exterior of the jar. It is essential to work in sections to maintain control over the application and prevent the adhesive from drying too quickly. As you apply the adhesive, be mindful of the areas where you want the glitter to adhere, as this will create a beautiful, shimmering effect.
Once the adhesive is applied, it is time to introduce the Heart Glitter. Gently sprinkle the glitter over the adhesive-coated areas, allowing it to stick and create a dazzling finish. For a more controlled application, you may choose to pour the glitter directly from the container or use a small spoon. After covering the desired sections, tap the jar lightly to remove any excess glitter, ensuring a clean and polished look. Allow the jars to dry completely, which may take several hours depending on the type of adhesive used.
As the jars dry, you can turn your attention to the decorative elements that will enhance their appearance. Consider wrapping a piece of twine or ribbon around the neck of each jar, securing it with a bow for an added touch of elegance. This simple addition can elevate the overall aesthetic and make the favors feel more cohesive with your wedding theme. If you have chosen to include tags, now is the perfect time to attach them. You can personalize each tag with a message of gratitude or a quote that resonates with your love story, making each favor a cherished memento for your guests.
Once the jars are fully assembled and decorated, it is crucial to store them properly until the wedding day. Place them in a safe, dry location to prevent any damage or dust accumulation. On the day of your wedding, consider displaying the favors on a beautifully arranged table, perhaps alongside other elements of your decor, such as flowers or candles, to create an inviting atmosphere for your guests.
In conclusion, crafting Heart Glitter mason jar favors is a delightful way to express your appreciation to your guests while adding a personal touch to your wedding celebration. By following these simple steps, you can create stunning favors that reflect your unique style and love story. As your guests take home these charming keepsakes, they will undoubtedly remember the joy and love that filled your special day.
DIY Heart Glitter Candles: Create Unique Wedding Favors
Creating unique wedding favors can add a personal touch to your special day, and DIY Heart Glitter candles are an excellent choice that combines elegance with creativity. These charming candles not only serve as delightful keepsakes for your guests but also enhance the romantic ambiance of your wedding. To embark on this creative journey, you will need a few essential materials, including candle wax, wicks, heart-shaped glitter, and containers for your candles. By following a step-by-step guide, you can craft these beautiful favors that reflect your love story.
To begin, gather your materials. You will need paraffin or soy wax, which can be easily melted and molded. Additionally, select wicks that are appropriate for the size of your containers, as well as heart-shaped glitter in colors that complement your wedding theme. Once you have everything ready, the first step is to melt the wax. This can be done using a double boiler method, where you place the wax in a heat-safe container over simmering water. Stir the wax gently as it melts, ensuring it reaches a temperature of around 170 to 180 degrees Fahrenheit. This temperature is ideal for adding fragrance oils if you wish to infuse your candles with a lovely scent.
As the wax melts, prepare your containers by securing the wicks at the bottom. You can use a small amount of melted wax to adhere the wick to the base of each container, ensuring it remains upright during the pouring process. Once the wax is fully melted, you can add any desired fragrance oils, stirring thoroughly to ensure an even distribution. This step is crucial, as the scent will enhance the overall experience for your guests. After mixing in the fragrance, it is time to incorporate the Heart Glitter. Carefully sprinkle the glitter into the melted wax, allowing it to disperse evenly throughout the mixture. The glitter will create a stunning visual effect once the candles are set.
Next, pour the melted wax into your prepared containers, taking care to leave a small amount of space at the top. This will allow for any additional decorative elements you may wish to add later. As the wax begins to cool and solidify, you may notice the glitter settling at the bottom. To achieve a more uniform distribution, gently stir the mixture before it fully hardens. Allow the candles to cool completely, which may take several hours depending on the size of your containers. Once the candles are set, you can trim the wicks to about half an inch above the wax surface, ensuring they are ready for lighting.
To personalize your Heart Glitter candles further, consider adding decorative touches such as labels or ribbons that match your wedding theme. You can create custom labels with your names and wedding date, or even a heartfelt message expressing your gratitude to your guests. Wrapping the containers with elegant ribbons or twine can also enhance their aesthetic appeal, making them a beautiful addition to your wedding decor.
In conclusion, DIY Heart Glitter candles are a wonderful way to create unique wedding favors that your guests will cherish. By following this step-by-step guide, you can craft these delightful candles with ease, adding a personal touch to your celebration. Not only do they serve as memorable keepsakes, but they also contribute to the romantic atmosphere of your special day, making them a perfect choice for any couple looking to celebrate their love in a meaningful way.
Heart Glitter Photo Frame Favors: Crafting Memories for Your Guests
Creating memorable wedding favors is an essential aspect of planning a wedding, as these tokens of appreciation allow couples to express their gratitude to guests for sharing in their special day. One delightful option for a DIY wedding favor is the Heart Glitter photo frame, which not only serves as a beautiful keepsake but also provides a personal touch that guests will cherish. This step-by-step guide will walk you through the process of crafting these charming photo frames, ensuring that your guests leave with a piece of your celebration to remember.
To begin, gather all necessary materials. You will need plain wooden or plastic photo frames, heart-shaped glitter in various colors, a strong adhesive, and optional embellishments such as ribbons or decorative stickers. Additionally, consider including a small card with a heartfelt message or a photo of the couple to personalize each frame further. Once you have assembled your supplies, you can move on to the crafting process.
Start by preparing your workspace. Lay down a protective covering to prevent any mess from the glitter and adhesive. Next, take each photo frame and apply a thin layer of adhesive to the areas where you want to place the glitter. It is advisable to work on one frame at a time to ensure that the adhesive does not dry out before you can apply the glitter. As you spread the adhesive, be mindful of the design you wish to create; you may choose to cover the entire frame or focus on specific sections, such as the corners or edges.
Once the adhesive is applied, it is time to sprinkle the Heart Glitter over the frame. Gently shake the glitter over the adhesive, allowing it to adhere properly. For a more controlled application, consider using a small spoon or a funnel to direct the glitter precisely where you want it. After covering the desired areas, tap the frame lightly to remove any excess glitter, ensuring a clean and polished look. Allow the frames to dry completely before moving on to the next step.
After the frames have dried, you can enhance their appearance with additional embellishments. Ribbons can be tied around the frame for a touch of elegance, while decorative stickers can add a whimsical element. Personalizing each frame with a small card featuring a message of gratitude or a photo of the couple can further elevate the sentiment behind the favor. This thoughtful addition not only makes the frames more special but also provides guests with a tangible memory of your wedding day.
As you complete each frame, consider how they will be presented to your guests. A simple yet effective way to display the frames is to arrange them on a designated table at the reception, allowing guests to take one as they leave. Alternatively, you could place them at each table setting, ensuring that every guest receives a favor that reflects the love and joy of your celebration.
In conclusion, crafting Heart Glitter photo frame favors is a delightful way to create lasting memories for your wedding guests. By following this step-by-step guide, you can produce beautiful, personalized keepsakes that embody the spirit of your special day. Not only will these favors serve as a reminder of the love shared during your wedding, but they will also showcase your creativity and thoughtfulness, leaving a lasting impression on all who attend.
Q&A
1. **What materials are needed for DIY wedding favors with Heart Glitter?**
– Small favor boxes or bags, heart-shaped glitter, adhesive (like glue or double-sided tape), decorative ribbon, and optional tags or labels.
2. **How do you apply Heart Glitter to the favor boxes?**
– Apply a thin layer of adhesive to the desired area of the favor box, then sprinkle heart-shaped glitter over the adhesive. Shake off any excess glitter and let it dry completely.
3. **What are some creative ways to personalize the wedding favors?**
– Use custom tags with the couple’s names and wedding date, incorporate themed colors, or add small keepsakes inside the favor boxes that reflect the couple’s interests or love story.
Conclusion
DIY wedding favors with Heart Glitter offer a personalized and charming touch to your special day. By following a step-by-step guide, couples can create unique and memorable gifts for their guests that reflect their style and love story. The process not only allows for creativity but also fosters a sense of connection and sentimentality. Ultimately, these handcrafted favors serve as a beautiful reminder of the celebration, leaving guests with a lasting impression of the couple’s thoughtfulness and attention to detail.


