


- Silver Glitter: Stunning DIY Projects for Unforgettable Weddings
- Why Choose Silver Glitter?
- DIY Silver Glitter Invitations
- Materials Needed:
- Steps:
- Glittery Table Decor
- Creating Glitter Table Runners
- Materials Needed:
- Steps:
- Glitter-Covered Candles
- Materials Needed:
- Steps:
- Sparkling Centerpieces
- Glittery Flower Vases
- Materials Needed:
- Steps:
- Glitter Photo Booth Backdrop
- Materials Needed:
- Steps:
- Glitter Favors and Gifts
- Materials Needed:
- Steps:
- Conclusion
Silver Glitter: Stunning DIY Projects for Unforgettable Weddings
Silver glitter is an enchanting element that can transform any wedding into a dazzling experience. From invitations to centerpieces, incorporating fine glitter into your wedding designs can add a touch of magic and elegance. In this article, we will explore a variety of DIY projects that leverage the shimmering beauty of silver glitter, ensuring your special day is unforgettable.
Why Choose Silver Glitter?
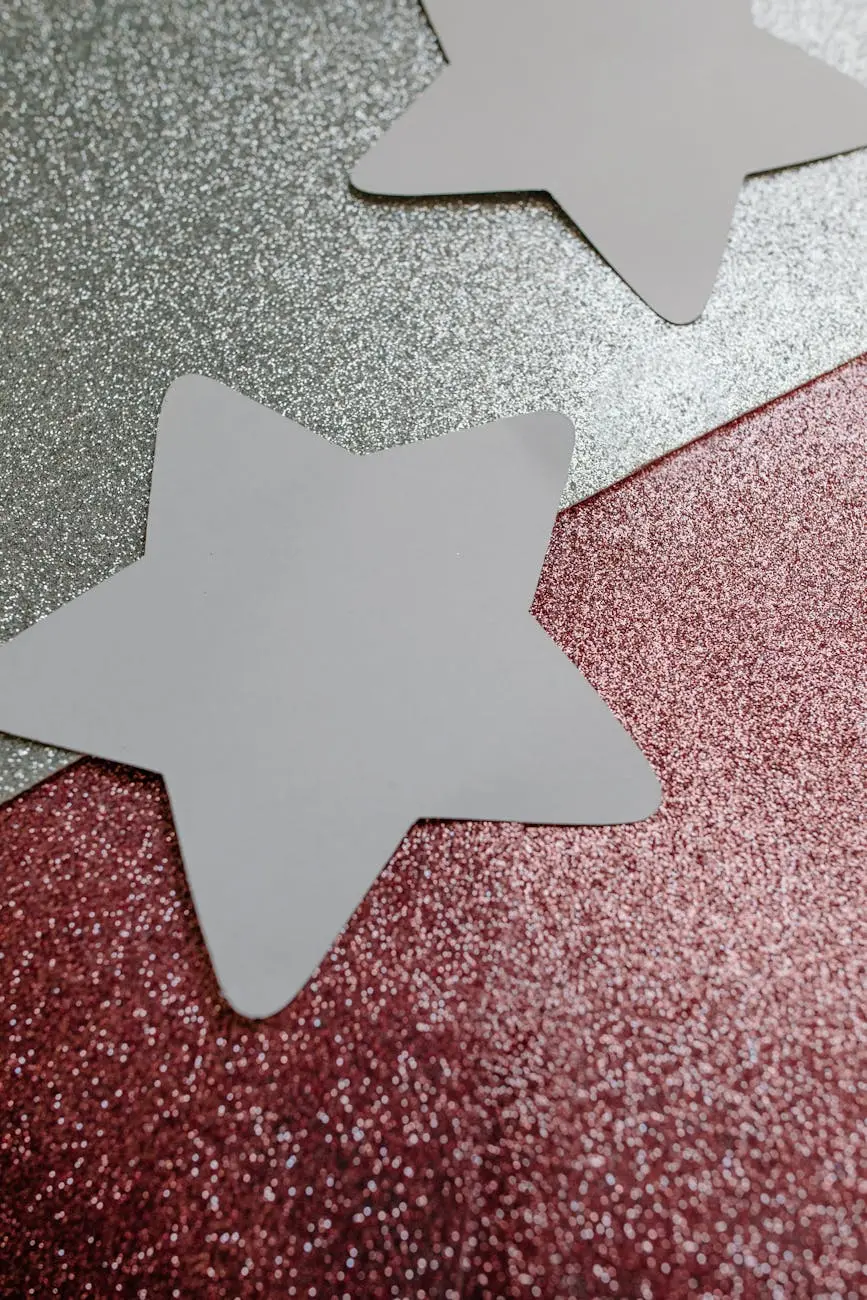
Silver glitter holds a unique charm that complements many wedding themes, from rustic to modern chic. Its versatility works well with different color palettes, enhancing the beauty of your decor and creating a glamorous atmosphere. Whether you aim for a soft sparkle or a dramatic shine, silver craft glitter is an excellent addition to your wedding planning arsenal.
DIY Silver Glitter Invitations
Invitations set the tone for your wedding, and adding silver glitter can elevate them to a whole new level. Here’s how to make stunning glitter invitations:
Materials Needed:
– Blank invitations (you can buy pre-made or create your own)
– Silver craft glitter
– Glue stick or double-sided tape
– Paintbrush or sponge
– Cardstock (for backing)
– Scissors
Steps:
1. Design Your Invitations: Start by designing your invitations. Use a template or create a custom design that reflects your wedding theme.
2. Prepare the Glitter Area: Choose a clean workspace. Lay down newspaper or a drop cloth to catch any excess glitter.
3. Apply Glue: Use a glue stick or double-sided tape along the edges or specific areas of your invitation where you want the glitter to adhere.
4. Sprinkle the Glitter: While the glue is still wet, sprinkle fine silver glitter over the glued areas. Ensure you cover it well for a consistent look.
5. Shake Off Excess: Gently tap the invitation or blow off any excess glitter.
6. Back the Invitations: For added durability, glue your glittery invitations onto a piece of cardstock to give them structure.
7. Final Touches: Allow them to dry completely before mailing or handling.
This creative invitation design is a perfect way to make a memorable first impression on your guests.
Glittery Table Decor
Your reception tables are vital in creating an enchanting ambiance. Incorporating silver glitter can add both sparkle and texture to your table decor.
Creating Glitter Table Runners
A glitter table runner can serve as a beautiful centerpiece for your guests. Here’s a simple method to make your own:
Materials Needed:
– A roll of burlap or linen fabric
– Fine silver glitter
– Fabric glue or Mod Podge
– Paintbrush
– Scissors
– Clear spray sealant (optional)
Steps:
1. Measure and Cut: Decide the length and width of your table runner and cut the fabric accordingly.
2. Apply Glue: Using a paintbrush, apply a thin layer of fabric glue or Mod Podge along the edges of the fabric where you want the glitter to adhere.
3. Sprinkle Glitter: While the glue is wet, generously sprinkle silver glitter over the glued areas. It’s best to work in sections for better coverage.
4. Shake Off Excess: Gently shake off any excess glitter, ensuring you get an even distribution of shimmer.
5. Seal (Optional): For longevity, consider spraying a clear sealant to protect the glitter from falling off as guests interact with the table.
This table runner will ensure your tables dazzle and shine throughout your celebration.
Glitter-Covered Candles
Adding sparkle to your candles will create a warm and inviting atmosphere during your reception. Glitter-covered candles can serve both as decoration and lighting.
Materials Needed:
– Plain candles (pillar or votive)
– Fine silver glitter
– Mod Podge or clear adhesive
– Small brushes or sponges
– Tape or rubber bands
Steps:
1. Prepare the Candles: Use tape or rubber bands to mark off sections on the candle where you want the glitter to stick.
2. Apply Adhesive: Brush Mod Podge or clear adhesive over the areas where you want to apply glitter.
3. Sprinkle Glitter: Gently sprinkle the silver glitter onto the adhesive-covered areas.
4. Let Dry: Allow the candles to dry completely, then gently remove the tape or rubber bands.
5. Display: Arrange the glittered candles on your tables or around your venue to create a beautiful ambiance.
Sparkling Centerpieces
Centerpieces serve as focal points for guest tables and can be stunning representations of your wedding theme. Incorporating silver glitter can dramatically enhance their appearance.
Glittery Flower Vases
Instead of opting for traditional vases, consider creating glittery vases to hold your floral arrangements.
Materials Needed:
– Glass or plastic vases
– Fine silver glitter
– Mod Podge or PVA glue
– Paintbrush
– Clear sealant (optional)
Steps:
1. Prepare Vases: Clean your vases and let them dry completely.
2. Apply Glue: Apply a layer of Mod Podge or glue to the outside surface of the vase.
3. Sprinkle Glitter: While the glue is still wet, generously sprinkle fine silver glitter over the entire vase.
4. Dry: Allow the vases to dry completely.
5. Seal (Optional): For durability, spray a clear sealant to prevent glitter fallout.
6. Arrange Flowers: Once dry, fill the vases with your chosen flowers, and enjoy the sparkling effect.
Glitter Photo Booth Backdrop
A photo booth is a fantastic way to capture memories during your celebration, and a glittery backdrop can make your photos pop.
Materials Needed:
– A large piece of cardboard or a curtain rod
– Silver glitter
– Glue or spray adhesive
– Streamers or plastic tablecloth (silver or clear)
– Scissors
Steps:
1. Create Your Backdrop Frame: Set up your cardboard or curtain rod in a location where you want the photo booth.
2. Cover in Glitter: Using glue or spray adhesive, cover either the entire cardboard piece or sections of it with silver glitter, allowing it to dry.
3. Add Accents: You can enhance the glitter backdrop with streamers or a silver tablecloth around the edges for extra flair.
4. Set Up the Photo Booth: Place a camera or smartphone on a tripod in front of the backdrop. Don’t forget props for your guests!
Glitter Favors and Gifts
Sending guests home with a little sparkle is a delightful way to extend the wedding festivities. Consider making glittery favor bags filled with small mementos.
Materials Needed:
– Small paper bags or boxes
– Silver glitter
– Adhesive
– Treats or small gifts
Steps:
1. Decorate the Bags/Boxes: Use adhesive to apply silver glitter to the edges or front of the favor bags or boxes.
2. Fill with Treats: Once dry, fill each bag or box with treats or small gifts for your guests.
3. Seal and Tag: Seal each bag and add a personalized tag to thank each guest for attending.
Conclusion
Incorporating silver glitter into your wedding DIY projects not only enhances the aesthetic appeal but also allows you to customize your decor to reflect your unique style and personality. From glittering invitations to captivating centerpieces, the options are as vast as your imagination. By using fine craft glitter creatively, you can create dazzling elements that will leave lasting memories for you and your guests. As you embark on this exciting journey of wedding planning, don’t forget: a little sparkle goes a long way in making your celebration unforgettable.