When it comes to spreading holiday cheer, there’s no better way than sending heartfelt Christmas cards to loved ones. Adding a touch of glitter to your DIY holiday cards can take them from simple to stunning. In this article, we will explore creative ways to make beautiful holiday cards with glitter that will surely dazzle your recipients. Let’s dive into the world of glitter and creativity!
## The Magic of Glitter
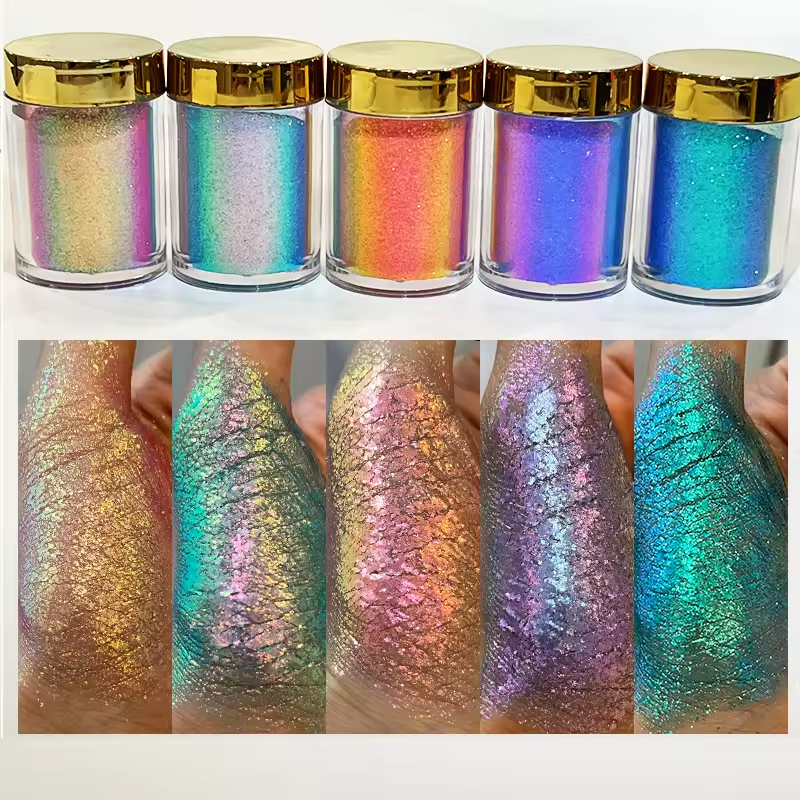
Glitter, a sparkling powdery substance, adds a touch of glamour and festivity to any project. Available in a wide range of colors and sizes, glitter can elevate your holiday cards to a whole new level. Whether you prefer subtle shimmer or bold sparkle, glitter offers endless possibilities for creativity.
## Choosing the Right Glitter
When selecting glitter for your holiday cards, consider the color scheme and overall design. Fine glitter works well for intricate details, while chunky glitter can create a bold statement. Make sure to choose high-quality glitter that adheres well to the paper and doesn’t shed easily, ensuring your cards remain pristine.
## Essential Supplies
Before diving into your glittery creations, gather the following supplies:
– Cardstock or blank cards
– Glitter in assorted colors
– Glue or adhesive
– Paintbrushes
– Stencils or stamps (optional)
– Sealant spray (to prevent glitter from shedding)
## DIY Christmas Crafts: How to Make Beautiful Holiday Cards with Glitter
Now, let’s get into the step-by-step process of creating stunning holiday cards with glitter:
### Step 1: Design Your Card
Start by designing your card layout. Whether you opt for a traditional Christmas tree design, a festive wreath, or a whimsical snowflake pattern, sketch out your ideas before adding glitter.
### Step 2: Apply Glue
Using a fine-tip glue applicator or a paintbrush, carefully apply glue to the areas where you want to add glitter. Work in small sections to prevent the glue from drying before you can apply the glitter.
### Step 3: Sprinkle Glitter
Sprinkle your chosen glitter color onto the glued areas. Gently tap off the excess glitter and let it dry for a few minutes before moving on to the next section.
### Step 4: Add Details
For added flair, consider using stencils or stamps to create intricate designs with glitter. Experiment with layering different glitter colors for a more dynamic look.
### Step 5: Seal the Glitter
Once your design is complete and the glitter has dried, spray a thin coat of sealant over the glittered areas. This will help secure the glitter in place and prevent it from rubbing off.
## Spread Joy with Glittery Holiday Cards
Sending handmade holiday cards adorned with glitter is a thoughtful way to spread joy and cheer during the festive season. Get creative with your designs, experiment with different glitter colors and textures, and let your imagination shine through in every card you create.
## Embrace the Sparkle
Incorporating glitter into your DIY Christmas crafts adds a touch of magic and sparkle that is sure to delight anyone who receives your handmade cards. Whether you prefer a subtle hint of glitter or a bold shimmer, let your creativity shine bright this holiday season.
## Conclusion
Making beautiful holiday cards with glitter is a fun and rewarding DIY project that allows you to express your creativity and spread holiday cheer to those you care about. With the right supplies and a sprinkle of glitter, you can create stunning cards that will be cherished by your loved ones. So, gather your glitter, unleash your imagination, and let the holiday crafting begin!


