


- Fine Glitter: Stunning Craft Ideas for Effortless Beauty
- The Allure of Fine Glitter
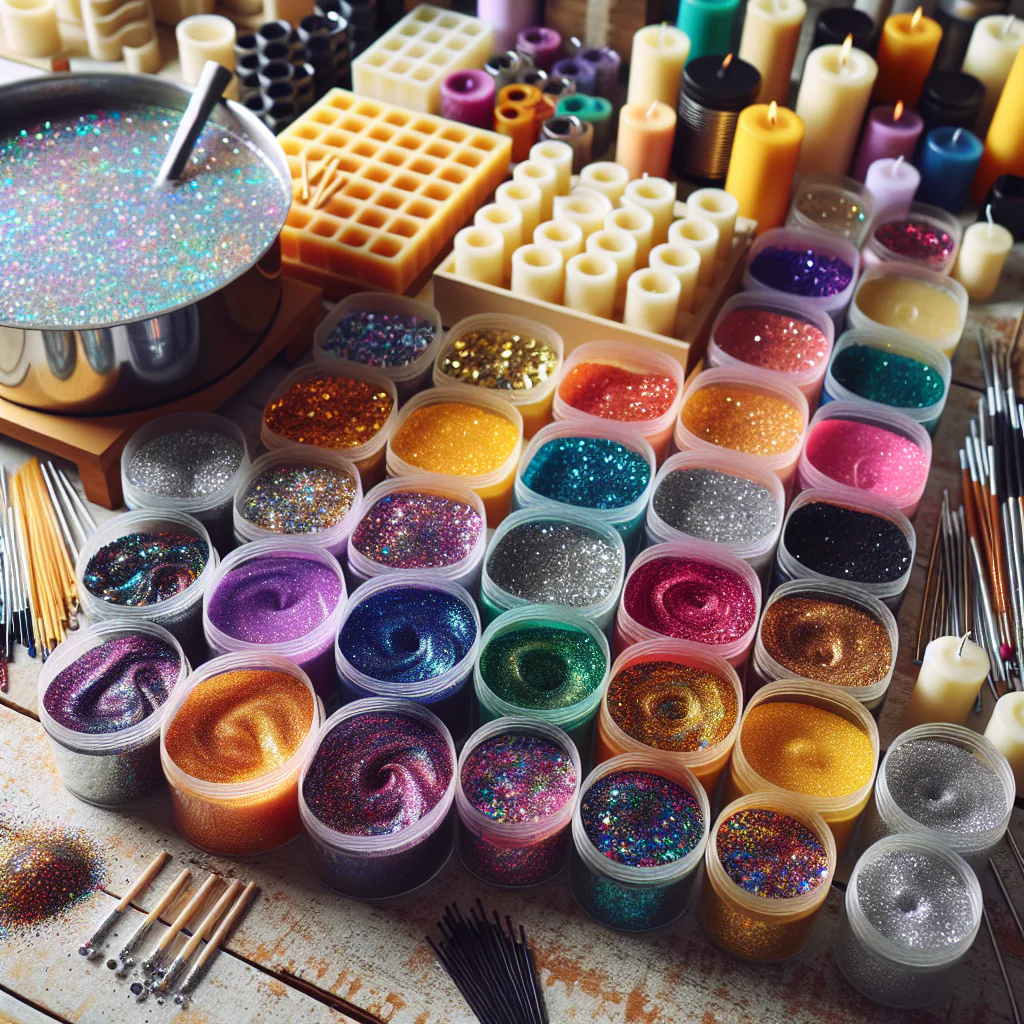
- Essential Tools and Supplies
- Crafting Projects Using Fine Glitter
- Glittered Greeting Cards
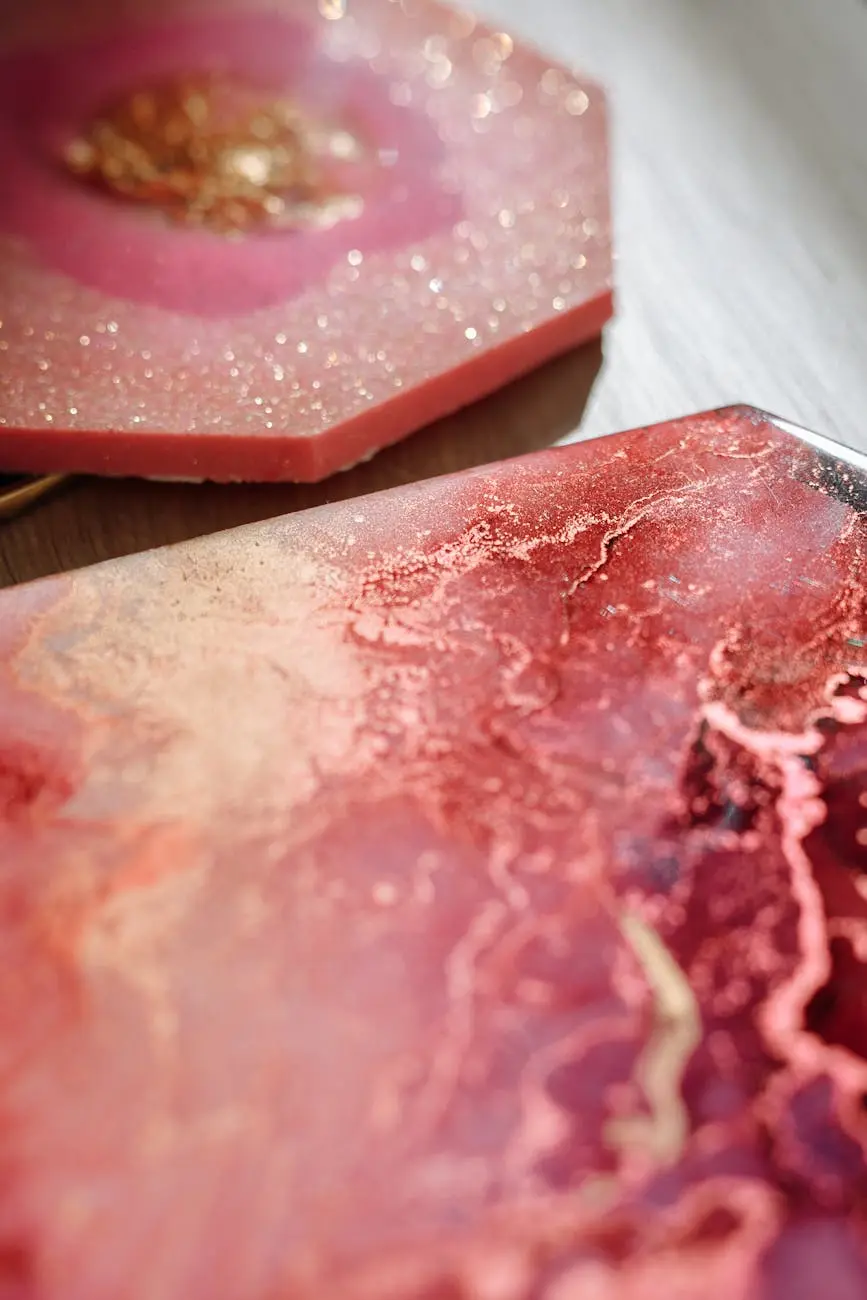
- Glamorous Home Décor
- Stunning Holiday Ornaments
- Glitter Wine Glasses for Special Occasions
- Tips for Working with Glitter
- Conclusion
Fine Glitter: Stunning Craft Ideas for Effortless Beauty
Fine glitter is a captivating crafting material that can transform ordinary projects into remarkable masterpieces. Whether you’re an experienced crafter or just beginning your journey, incorporating fine glitter into your creations can elevate their aesthetic, bringing a touch of sparkle and glam to your work. This article explores various stunning craft ideas that showcase the beauty of craft glitter, outlining effective techniques and innovative projects that anyone can tackle.
The Allure of Fine Glitter
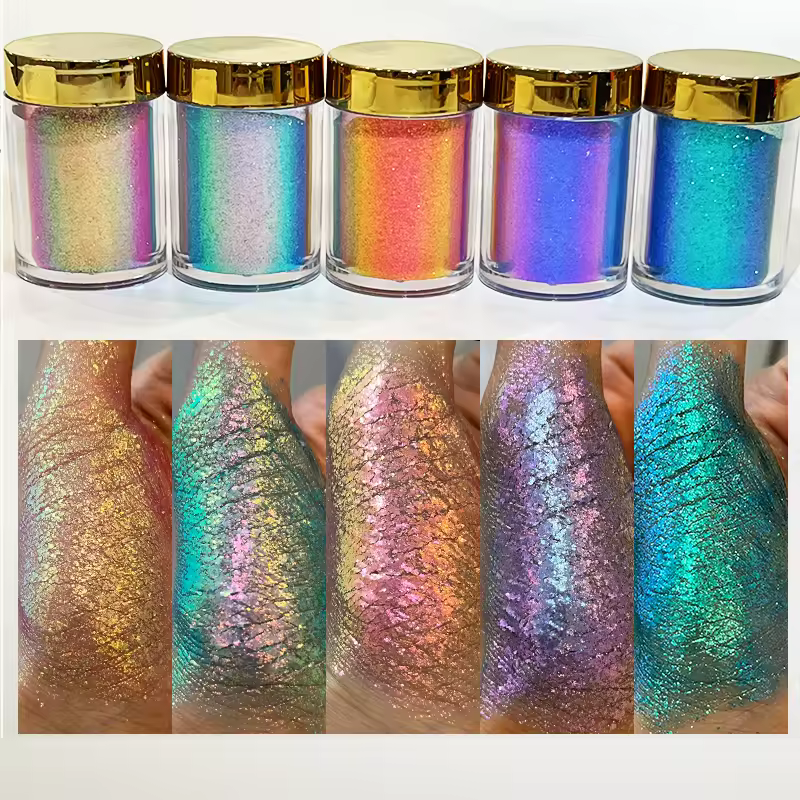
Fine glitter is characterized by its small, reflective particles that create a shimmering effect when added to various surfaces. Available in a rainbow of colors—including classic shades like gold glitter—this versatile crafting supply can be used in numerous ways, from home décor to festive decorations. Its fine texture ensures that it adheres smoothly, adding a touch of elegance without overwhelming other elements of your design.
Essential Tools and Supplies
Before diving into the various craft projects, it’s crucial to gather the necessary tools and supplies. Here’s a basic list to get you started:
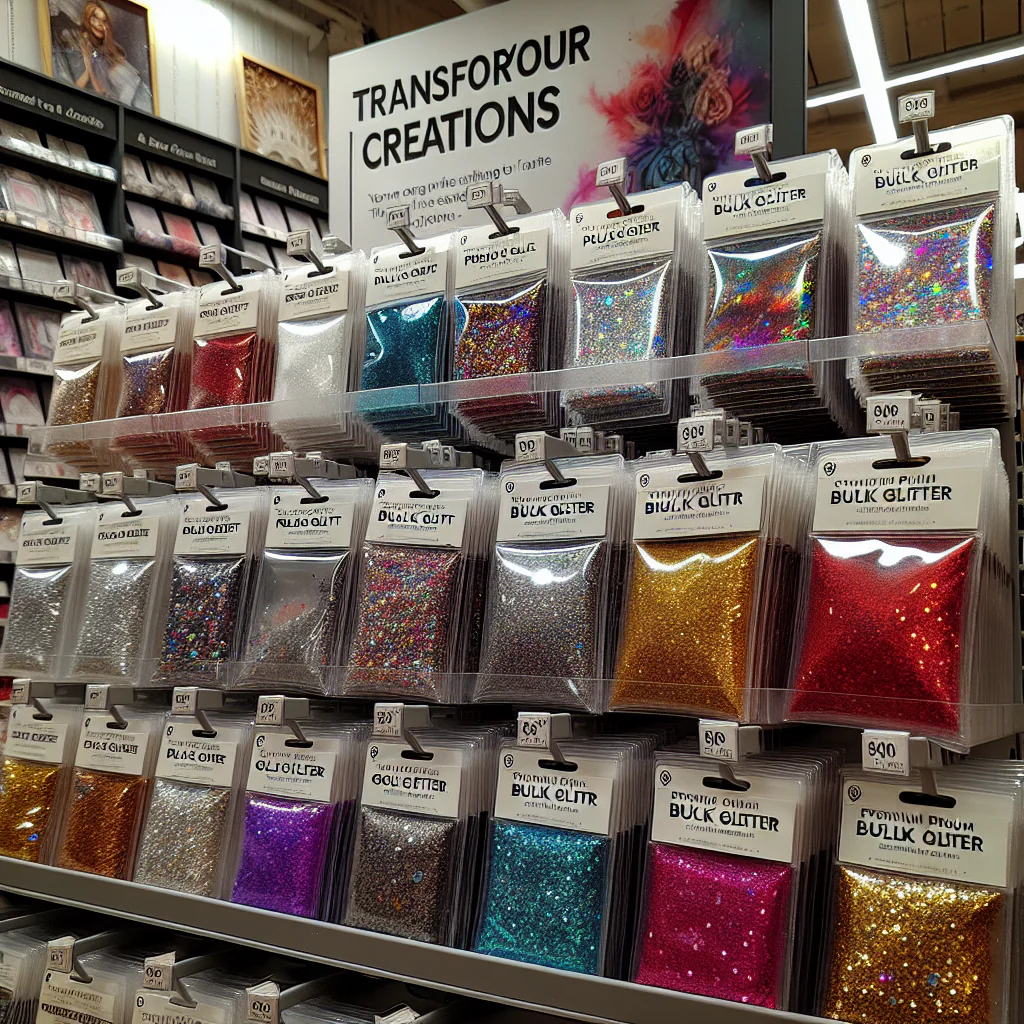
– Fine Glitter: Choose from a range of colors, including metallic, matte, and holographic options.
– Adhesive: Mod Podge, craft glue, or spray adhesive work well for adhering glitter.
– Brushes or Sponges: For applying adhesive smoothly and evenly.
– Containers: To hold and mix glitter.
– Projects: Ideas range from ornaments to cards and home décor items.
Crafting Projects Using Fine Glitter
Glittered Greeting Cards
Creating personalized greeting cards with fine glitter can add a special touch for any occasion. Here’s how to make your own:
Materials Needed:
– Blank cards or cardstock
– Fine glitter (gold glitter for a classic look)
– Adhesive (such as Mod Podge)
– Paintbrush
– Decorative elements (stickers, stamps, etc.)
Steps:
1. Choose a Design: Sketch out a simple design or phrase on the front of the card.
2. Apply Adhesive: Use a paintbrush to apply adhesive only to the areas where you want glitter.
3. Sprinkle Glitter: Generously sprinkle fine glitter over the adhesive and shake off the excess.
4. Add Decorative Elements: Enhance the glittered design with additional stickers or embellishments.
5. Let It Dry: Allow the card to fully dry before writing your message or mailing it.
This craft is perfect for birthdays, holidays, or just because—each card can be tailored to the recipient’s taste!
Glamorous Home Décor
Fine glitter can easily be integrated into home décor, adding a hint of glamour to any room. Here’s a stylish project you can try:
Glittered Picture Frames
Materials Needed:
– Wooden or plastic picture frames
– Fine craft glitter (consider silver or gold glitter for an elegant finish)
– Adhesive
– Foam brush or sponge
– Clear sealant (optional)
Steps:
1. Prepare the Frame: Ensure the frame is clean and dry before starting. If desired, paint it in a neutral color to provide a contrasting background for the glitter.
2. Apply Adhesive: With a foam brush, coat the areas you want glittered with adhesive.
3. Sprinkle Glitter: Generously sprinkle your selected fine glitter over the adhesive, ensuring every surface is covered.
4. Shake Off Excess: Tap the frame gently to remove any excess glitter.
5. Seal (Optional): For longevity, spray a clear sealant over the glitter for added protection.
These glittered frames make beautiful gifts, or they can serve as eye-catching accents in your own space.
Stunning Holiday Ornaments
Fine glitter is particularly popular during the holiday season, turning simple ornaments into festive treasures. Here’s a delightful way to create sparkling ornaments:
Materials Needed:
– Clear plastic or glass ornaments
– Fine glitter (red, silver, or gold glitter for a holiday theme)
– Adhesive
– Funnel (for easy filling)
– Ribbon for hanging
Steps:
1. Prepare the Ornament: Remove the top of the ornament if using glass and set aside.
2. Add Adhesive Inside: Pour a small amount of adhesive into the ornament’s opening and swish it around to coat the interior.
3. Add Glitter: Using a funnel, pour in fine glitter, allowing it to cover the adhesive evenly. Rotate the ornament to create an even coating.
4. Shake Off Excess: Tap out any excess glitter through the top opening.
5. Reattach the Top: Once the glitter is evenly distributed and the adhesive is dry, reattach the ornament cap.
6. Add Ribbon: Finish with a decorative ribbon for hanging.
These glittery ornaments can brighten up your tree and serve as festive gifts for friends and family.
Glitter Wine Glasses for Special Occasions
For those planning parties or special gatherings, adding a personal touch to glassware can enhance the celebration. Glitter wine glasses are not only stylish but also simple to make:
Materials Needed:
– Clear wine glasses
– Fine glitter (a mixture of colors can create a unique effect)
– Adhesive (such as spray adhesive or glue)
– Painters tape (optional for clean edges)
Steps:
1. Clean the Glasses: Ensure the glasses are spotless and dry.
2. Tape Edges (Optional): If you want clean lines, apply painters tape to the areas you don’t want glittered.
3. Spray Adhesive: Apply adhesive generously to the desired parts of the glass.
4. Sprinkle Glitter: Cover the adhesive with fine glitter evenly, ensuring full coverage.
5. Let Dry: Allow the glasses to fully dry before using them.
6. Remove Tape (if used): Carefully peel away the tape to reveal clean lines.
These sparkly glasses can be used for weddings, anniversaries, or any celebration worth toasting.
Tips for Working with Glitter
While working with fine glitter can be creatively fulfilling, it can also be a bit messy. Here are some tips to keep your crafting experience enjoyable:
– Work in a Controlled Area: Always cover your workspace with newspaper or a drop cloth to catch any stray glitter.
– Use a Vacuum Cleaner: A handheld vacuum can quickly clean up any glitter spills.
– Seal Projects: If you want to preserve your glitter designs, always seal your work with a clear spray, especially for items that will be handled.
– Keep Glitter Contained: Use containers or canisters with lids for optimal storage and to avoid spillage.
Conclusion
Fine glitter serves as a dynamic tool in the crafting world, allowing you to create stunning and personalized masterpieces that shine. From glitzy greeting cards and festive ornaments to glamorous home décor, the creative possibilities are endless. Whether utilizing gold glitter for a classic touch or exploring the vast spectrum of colors available, incorporating fine glitter into your projects is a wonderful way to express your creativity. So, gather your supplies and let your imagination take flight—the world of dazzling crafts awaits!