


-
Table of Contents
“Sparkle and Shine: 5 Effortless Nail Art Designs with Cosmetic Grade Glitter!”
Discover the magic of nail art with our guide on 5 Easy Nail Art Designs Using Cosmetic Grade Glitter! Elevate your manicure game and shine bright with stunning designs that are simple to create. Don’t miss out—get started today! [Explore the glitter collection here!](https://www.glittersmall.com/glitter-for-nails/)
Introduction
Nail art has become a popular form of self-expression, and incorporating cosmetic grade glitter can elevate your manicure to a whole new level. Whether you’re preparing for a special occasion or simply want to add some sparkle to your everyday look, these five easy nail art designs using glitter are perfect for both beginners and experienced nail enthusiasts. From subtle accents to bold statements, these designs will help you create stunning nails that shine bright. Get ready to unleash your creativity and transform your nails with these simple yet eye-catching techniques!
Glitter For Nails: Top 5 Easy Nail Art Designs You Can Create at Home
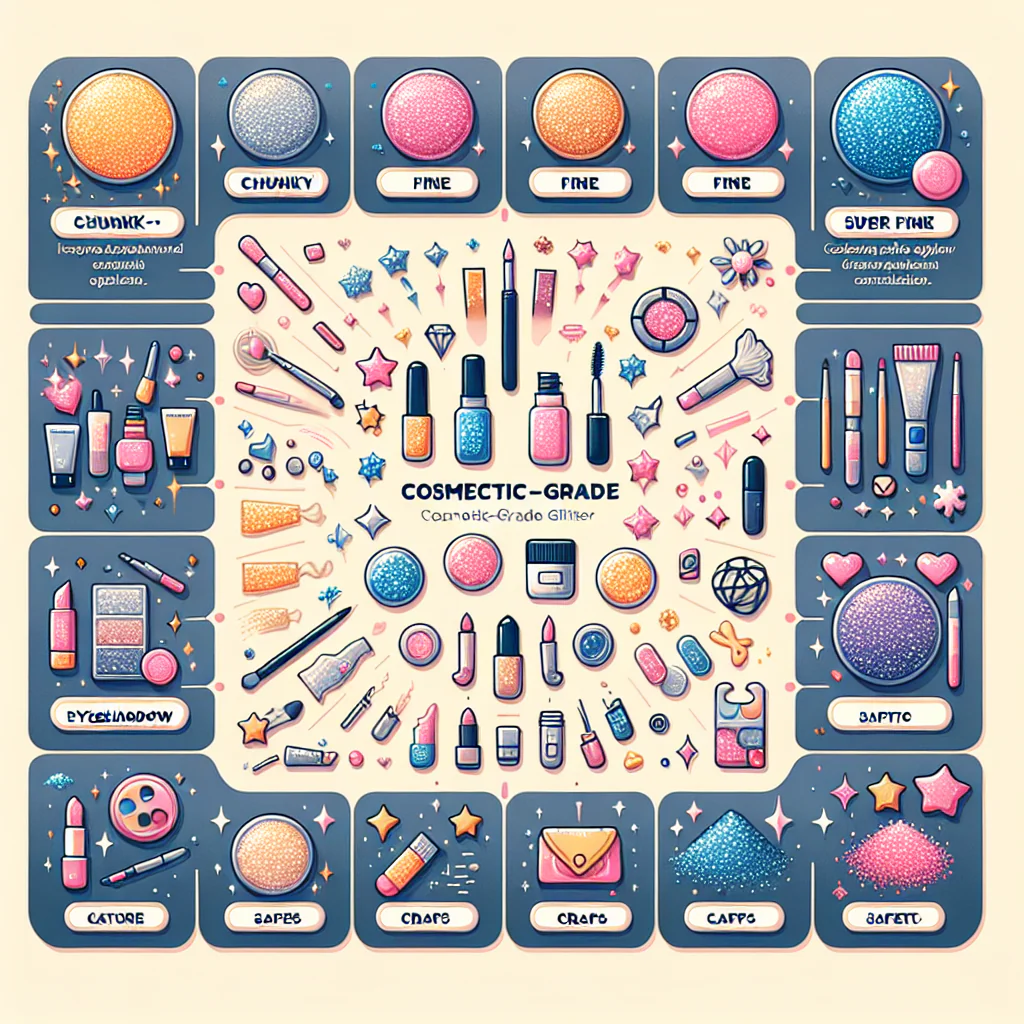
Nail art has become a popular form of self-expression, allowing individuals to showcase their creativity and personal style. Among the various techniques and materials available, cosmetic-grade glitter stands out as a versatile and eye-catching option. Its ability to add sparkle and dimension to any manicure makes it a favorite among nail enthusiasts. Here, we explore five easy nail art designs that can be effortlessly created at home using cosmetic-grade glitter, ensuring that your nails shine with elegance and flair.
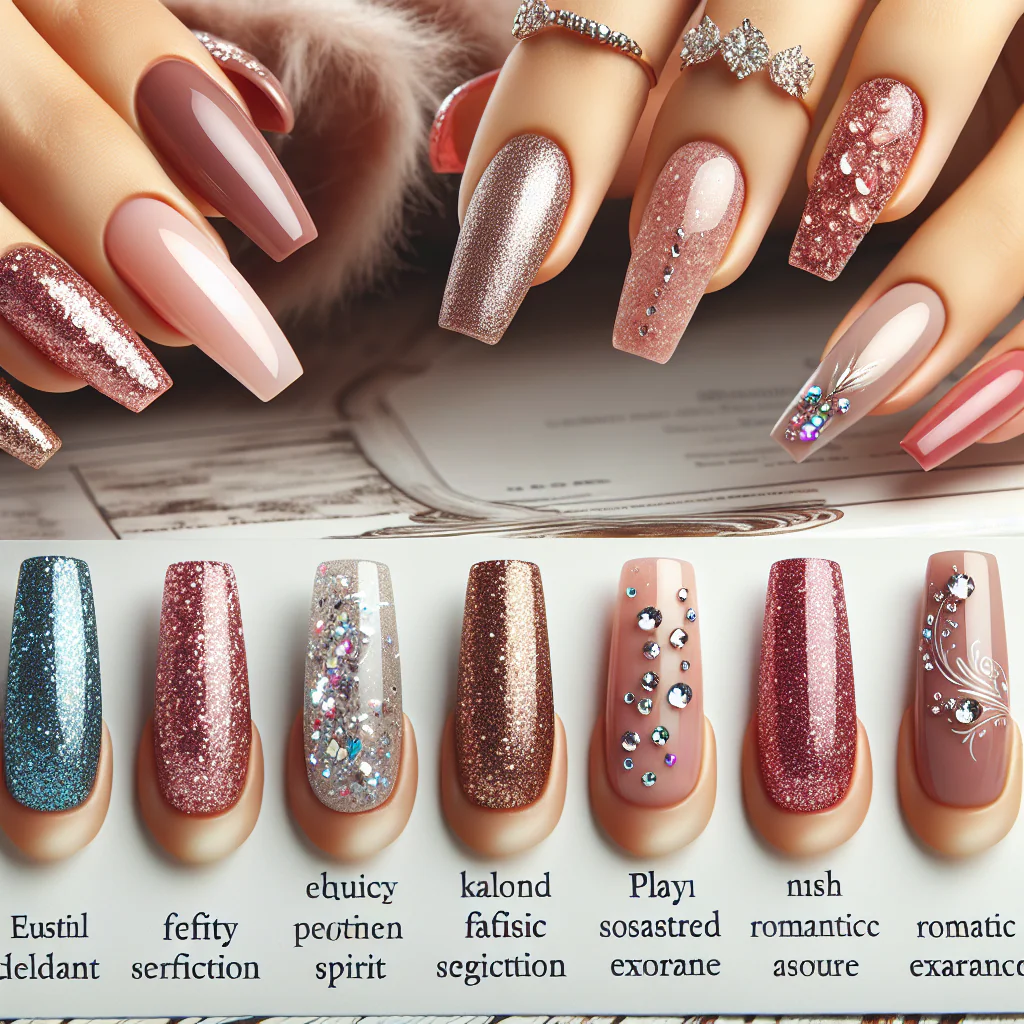
To begin with, a simple glitter gradient is an excellent choice for those who prefer a subtle yet striking look. This design involves applying a base color of your choice to the entire nail and allowing it to dry completely. Once dry, you can use a makeup sponge to dab glitter onto the tips of your nails, gradually blending it down towards the base. This technique creates a beautiful ombre effect that is both chic and easy to achieve. The key is to use a light hand when applying the glitter, allowing for a smooth transition between the colors.
Transitioning to a more playful design, the glitter accent nail is a fantastic way to incorporate sparkle without overwhelming your entire manicure. To create this look, select a base color for your nails and apply it uniformly. After it dries, choose one nail on each hand to serve as the accent nail. Apply a layer of clear polish to the accent nail and generously sprinkle cosmetic-grade glitter over it. Once the glitter is in place, seal it with a top coat to ensure longevity. This design allows you to express your personality while keeping the overall look sophisticated.
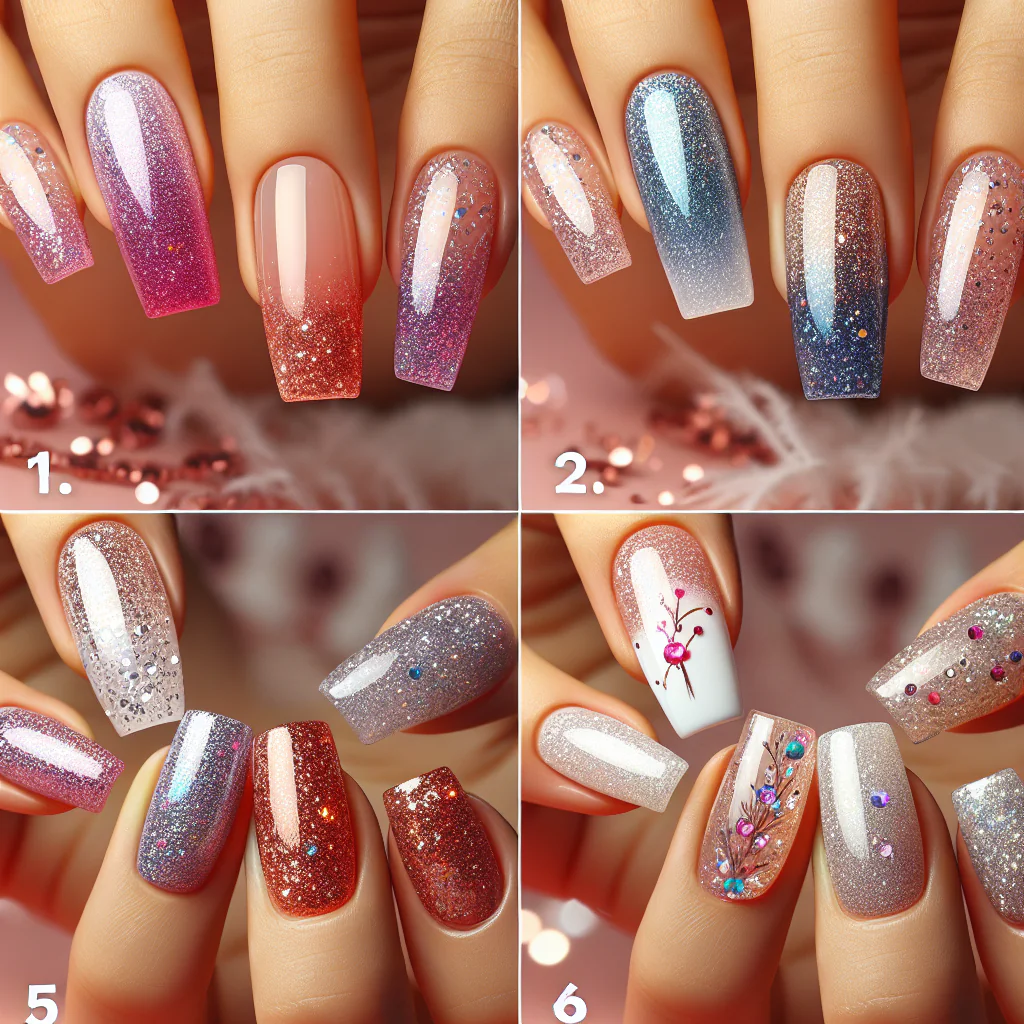
For those who enjoy a bit of whimsy, the glitter polka dot design offers a fun and easy option. Start by painting your nails with a solid base color and allowing it to dry. Next, using a dotting tool or a toothpick, dip it into clear polish and then into the glitter. Carefully create polka dots on your nails, spacing them evenly for a balanced appearance. This design can be customized by varying the size of the dots or using different colors of glitter, making it a versatile choice for any occasion.
Another captivating design is the glitter stripe manicure, which adds a touch of elegance to your nails. Begin by applying a base coat and allowing it to dry. Once dry, use striping tape to create straight lines on your nails, ensuring that the tape is firmly pressed down to prevent any polish from seeping underneath. Paint over the exposed areas with a contrasting color and immediately sprinkle glitter over the wet polish. After removing the tape, you will be left with clean, crisp lines adorned with sparkling accents. This design is perfect for those who appreciate a more structured and polished look.
Lastly, the glitter marble effect is an innovative way to achieve a stunning and artistic manicure. To create this design, start with a base color and allow it to dry. Then, using a small brush or a toothpick, apply drops of different colored polishes onto the nail. Before the polish dries, gently swirl the colors together to create a marbled effect. While the design is still wet, sprinkle cosmetic-grade glitter over the top to add depth and shine. This technique results in a unique and eye-catching manicure that is sure to draw attention.
In conclusion, incorporating cosmetic-grade glitter into your nail art repertoire opens up a world of creative possibilities. Whether you opt for a subtle gradient, a playful accent nail, whimsical polka dots, elegant stripes, or an artistic marble effect, these five easy designs can be achieved at home with minimal effort. By experimenting with different colors and techniques, you can create stunning nail art that reflects your personal style and adds a touch of glamour to your everyday look.
Sparkle and Shine: 5 Simple Nail Art Ideas Using Cosmetic Grade Glitter
Nail art has evolved into a popular form of self-expression, allowing individuals to showcase their creativity and personal style. Among the myriad of techniques available, the use of cosmetic grade glitter stands out for its ability to add a touch of sparkle and glamour to any manicure. This article presents five easy nail art designs that incorporate cosmetic grade glitter, making it accessible for both beginners and seasoned nail enthusiasts alike.
To begin with, one of the simplest yet most effective designs is the glitter gradient. This technique involves applying a base color of nail polish and then layering glitter from the tips of the nails towards the cuticles. To achieve this look, start by painting your nails with a solid color of your choice, allowing it to dry completely. Next, using a makeup sponge, dab a small amount of cosmetic grade glitter onto the sponge and gently press it onto the tips of your nails. This method creates a seamless transition from the glitter to the base color, resulting in a stunning ombre effect that is both elegant and eye-catching.
In addition to the gradient technique, another straightforward design is the glitter accent nail. This approach allows for a more subtle incorporation of glitter while still making a statement. To execute this design, select one or two nails on each hand to serve as accent nails. Paint these nails with a base color, and while the polish is still wet, sprinkle cosmetic grade glitter over the top. After a few moments, gently tap off the excess glitter, ensuring that the glitter adheres well to the polish. This design not only adds a pop of sparkle but also allows for versatility in color combinations, making it suitable for any occasion.
Furthermore, the glitter stripe design offers a chic and modern aesthetic. To create this look, begin by applying a base coat of your preferred nail polish. Once dry, use striping tape to create straight lines across the nail. After placing the tape, apply a layer of clear polish followed by a generous sprinkle of cosmetic grade glitter over the exposed areas. Once the glitter is in place, carefully remove the tape to reveal clean, crisp lines. This design is particularly appealing for those who appreciate geometric patterns and can be customized with various colors and glitter types.
Moreover, the confetti nail art design is a playful and fun option that is perfect for celebrations. To achieve this look, start with a base coat of your choice and allow it to dry. Next, using a dotting tool or a toothpick, apply small dots of clear polish onto the nail and immediately sprinkle cosmetic grade glitter over the dots. This technique mimics the appearance of confetti and can be done in various colors to match any festive theme. The randomness of the dots adds a whimsical touch, making it an ideal choice for parties or special events.
Lastly, the glitter marble design combines elegance with creativity. To create this intricate look, begin by applying a base coat and allowing it to dry. Then, using a small brush or a toothpick, swirl together two or more colors of nail polish on a piece of plastic or a nail palette. Before the polish dries, sprinkle cosmetic grade glitter over the swirled colors. Using a small brush, gently swirl the colors together on your nail to create a marbled effect. This design is not only visually striking but also allows for endless customization, making it a favorite among nail art aficionados.
In conclusion, incorporating cosmetic grade glitter into nail art opens up a world of creative possibilities. Whether opting for a glitter gradient, accent nails, stripes, confetti, or a marbled design, these five easy techniques provide a foundation for anyone looking to add sparkle and shine to their manicure. With a little practice and imagination, the art of glitter nail design can transform ordinary nails into extraordinary works of art.
DIY Nail Art: 5 Easy Designs Featuring Glitter For Nails
Nail art has become a popular form of self-expression, allowing individuals to showcase their creativity and personal style. Among the various techniques available, the use of cosmetic-grade glitter stands out for its ability to add a touch of glamour and sparkle to any manicure. This article presents five easy nail art designs that incorporate glitter, making it accessible for both beginners and seasoned nail enthusiasts alike.
To begin with, one of the simplest yet most effective designs is the glitter gradient. This technique involves applying a base color of nail polish and then layering glitter from the tips of the nails towards the cuticles. To achieve this look, start by painting your nails with a solid color of your choice, allowing it to dry completely. Next, using a makeup sponge, dab a small amount of cosmetic-grade glitter onto the sponge and gently press it onto the tips of your nails. Gradually blend the glitter down towards the base, creating a seamless transition. This design not only looks stunning but also allows for customization based on the colors and types of glitter used.
Moving on, another easy design is the glitter accent nail. This technique involves applying glitter to just one or two nails, creating a striking contrast against the rest of the manicure. To execute this design, select a base color for your nails and apply it evenly. Once dry, choose a glitter polish or loose glitter and apply it to one or two nails, either fully covering the nail or creating a specific pattern, such as stripes or dots. This design is particularly effective for special occasions, as it adds a focal point to your overall look without overwhelming the entire manicure.
In addition to these designs, the confetti nail art technique offers a playful and vibrant option. To create confetti nails, start with a base coat of your preferred nail polish. Once dry, use a dotting tool or a toothpick to apply small dots of different colored glitters randomly across the nails. This design mimics the look of confetti and can be tailored to suit any theme or celebration. For instance, using pastel colors can create a whimsical look for spring, while bold, metallic glitters can enhance a festive appearance during the holiday season.
Furthermore, the ombre glitter design is another captivating option that combines two popular techniques: ombre and glitter. To achieve this look, begin with a base color and allow it to dry. Then, using a small brush or sponge, apply a darker shade of polish at the tips and blend it towards the cuticle. Once the ombre effect is established, apply a layer of glitter over the entire nail or focus it on the tips for added dimension. This design not only showcases the beauty of glitter but also allows for a sophisticated gradient effect that can be adapted to various color combinations.
Lastly, the glitter stripes design provides a chic and modern aesthetic. After applying a base coat, use striping tape to create geometric patterns on your nails. Once the tape is in place, apply a layer of glitter polish over the exposed areas. After the polish dries, carefully remove the tape to reveal clean lines and a striking contrast between the glitter and the base color. This design is perfect for those who appreciate a more structured look while still incorporating the fun of glitter.
In conclusion, these five easy nail art designs utilizing cosmetic-grade glitter offer a variety of options for anyone looking to enhance their manicure. Whether opting for a subtle glitter gradient or a bold confetti design, the versatility of glitter allows for endless creativity. With just a few simple techniques, anyone can achieve stunning nail art that reflects their unique style.
Q&A
1. **What are some easy nail art designs that can be created using cosmetic grade glitter?**
– Simple glitter gradient, glitter ombre, glitter tips, glitter accent nails, and full glitter coverage.
2. **What materials are needed for these nail art designs?**
– Cosmetic grade glitter, clear nail polish or base coat, a small brush or sponge for application, and a top coat for sealing.
3. **How can you ensure the glitter stays on the nails?**
– Apply a base coat, press the glitter onto the wet polish, and finish with a generous layer of top coat to secure the glitter in place.
Conclusion
In conclusion, incorporating cosmetic grade glitter into nail art designs offers a fun and creative way to enhance your manicure. The five easy designs—glitter ombre, glitter tips, glitter stripes, glitter dots, and glitter gradients—allow for versatility and personalization. These techniques are simple enough for beginners while providing a dazzling finish that can elevate any look. With just a few materials and a bit of creativity, anyone can achieve stunning nail art that sparkles and shines.