


- Gold Glitter DIY: Stunning Tips for Effortless Sparkle
- Understanding Different Types of Gold Glitter
- Fine Glitter vs. Chunky Glitter
- Choosing the Right Materials
- Preparing Your Space for Glitter Application
- Techniques for Applying Gold Glitter
- 1. Basic Application Using Glue
- 2. Ombre Glitter Fade
- 3. Glitter Adhesive Tape
- Creative Project Ideas with Gold Glitter
- Greeting Cards
- Decorative Picture Frames
- Glitter Vases
- Ornament Decoration
- Tips for Maintaining Your Glitter Projects
- Sealing Your Projects
- Cleaning Up
- Conclusion
Gold Glitter DIY: Stunning Tips for Effortless Sparkle
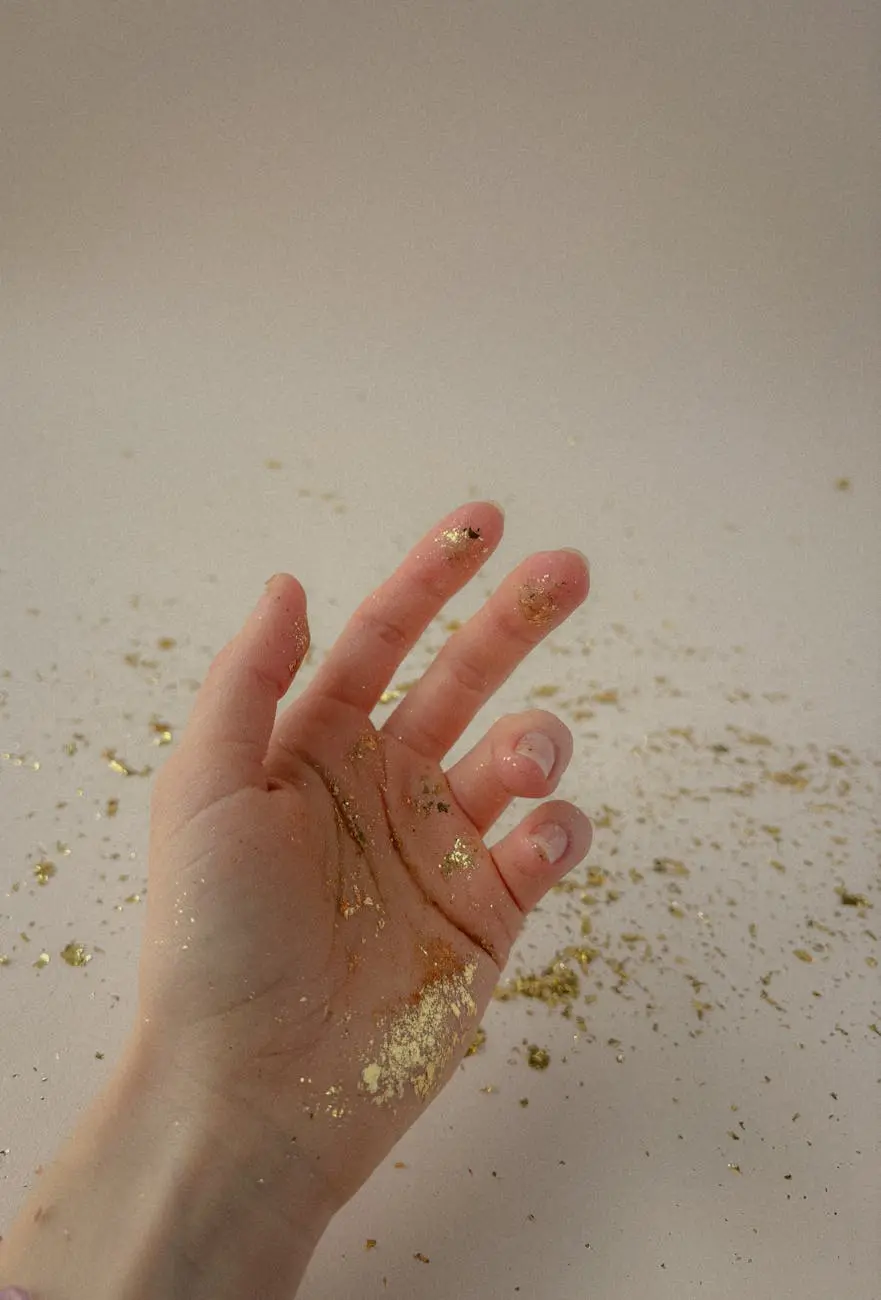
Gold glitter can transform ordinary items into stunning masterpieces. Whether you’re preparing for a celebration, personalizing some home décor, or just indulging in a creative day, using gold glitter will undoubtedly add a sparkle to your projects. This article explores various tips, techniques, and ideas for incorporating gold glitter into your DIY endeavors effortlessly.
Understanding Different Types of Gold Glitter
Before diving into project ideas, it’s essential to understand the different types of gold glitter available. There are several variations you can choose from, each suited to different applications.
Fine Glitter vs. Chunky Glitter
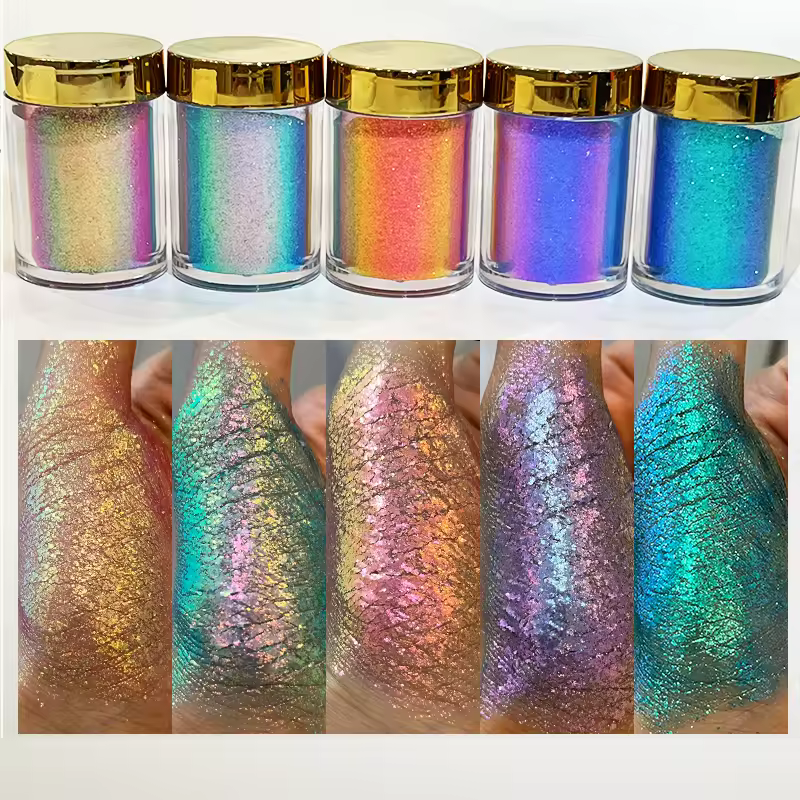
Fine glitter consists of small particles that create a smooth, sparkly finish. It’s excellent for projects where a subtle glimmer is desired, such as adding accents to cards or blending into paint mixtures.
Chunky glitter, on the other hand, includes larger pieces that create a more dynamic effect. This type works well for three-dimensional objects or large areas that need a bolder look, such as festive decorations or art projects.
Choosing the Right Materials
To achieve the best results in your gold glitter DIY projects, selecting the right materials is crucial. Here’s a list of essential items you’ll need:
– Gold Glitter: Choose between fine and chunky glitter based on the effect you want to achieve. High-quality glitter will reflect light beautifully.
– Adhesives: PVA glue, Mod Podge, or spray adhesive work well for sticking glitter to various surfaces. Each has its advantages, depending on your project.
– Surface Items: Ensure you have the type of surface you wish to decorate—this could be anything from canvas, glass, wood, or fabric.
– Tools: Scissors, brushes, and mixing tools help apply glue and distribute glitter evenly. A clean area to work is also essential to keep your projects tidy.
Preparing Your Space for Glitter Application
Glitter can be messy; therefore, preparation is key. Here are some tips to create a manageable workspace:
– Cover Surfaces: Use newspapers or plastic sheeting to cover the table or workspace. This makes cleaning up easy and prevents glitter from sticking to unwanted surfaces.
– Contain the Sparkle: Work in a box or under a large plastic tub to catch excess glitter. This will help minimize the mess and make it easier to collect and reuse any stray glitter.
– Ventilation: If you’re using sprays or glue that may have strong fumes, ensure your workspace is well-ventilated.
Techniques for Applying Gold Glitter
Now that you have your materials and workspace prepared, let’s explore some effective techniques for applying gold glitter.
1. Basic Application Using Glue
For most flat surfaces, using a brush to apply glue is the simplest technique:
1. Brush a layer of glue onto your chosen surface.
2. Sprinkle gold glitter evenly over the glued area.
3. Shake off excess glitter onto a tray or paper to catch what falls.
4. Allow it to dry completely before moving on to additional layers or decorations.
2. Ombre Glitter Fade
An ombre effect can give projects a dreamy, sophisticated look:
1. Start with the darkest shade of gold at the bottom and gradually transition to a lighter shade at the top.
2. Apply glue in sections, sprinkling a darker gold glitter on the bottom half and gradually blending lighter shades as you move upward.
3. This technique works beautifully on canvases, wood signs, or frame edges.
3. Glitter Adhesive Tape
For a clean, no-mess option, you can create your own glitter tape:
1. Cut a strip of double-sided tape to the desired length.
2. Peel off one side and apply it to your surface.
3. Sprinkle gold glitter over the tape, pressing gently to ensure adhesion.
4. Remove the other side of the tape and apply it where you’d like the sparkle to show.
Creative Project Ideas with Gold Glitter
Now that you’ve got the techniques down, here are some inspiring project ideas for your gold glitter DIY:
Greeting Cards
Handcrafted greeting cards embellished with glitter can take a personal touch to the next level.
How to Do It:
1. Fold card stock paper to your desired card size.
2. Use a stencil or freehand letters and designs with glue.
3. Sprinkle fine gold glitter over the glue, tapping off excess.
Decorative Picture Frames
Add a touch of glamour to your home by decorating picture frames.
Steps:
1. Choose wooden or plastic frames.
2. Apply glue along the edges or specific designs.
3. Use chunky gold glitter for bold accents, or fine glitter for an elegant finish.
Glitter Vases
Transform plain glass vases into stunning centerpieces:
1. Use painters or masking tape to create clean lines.
2. Apply glue to the exposed sections and sprinkle with fine gold glitter.
3. Allow drying, then remove the tape for a sleek look.
Ornament Decoration
Perfect for festive occasions, creating glittered ornaments adds a sparkle to your holiday décor.
Method:
1. Choose clear glass or plastic ornaments.
2. Pour a small amount of glue inside.
3. Add fine gold glitter, swirl to coat and let dry.
Tips for Maintaining Your Glitter Projects
After completing your gold glitter DIY projects, maintaining their glittery appeal is key.
Sealing Your Projects
Sealing helps to preserve the shimmer and prevent the glitter from shedding:
1. Clear Sealant Spray: A clear acrylic spray can protect your glitter while maintaining its sparkle. Hold the can a few inches away from your project and spray evenly.
2. Mod Podge: If you used Mod Podge to apply glitter, you can add a layer over the dried glitter to seal it in.
Cleaning Up
When you’re done with your gold glitter extravaganza, cleaning up can be easy and effective:
1. Use tape or a lint roller to pick up stray glitter particles from surfaces.
2. Sweep or vacuum the area thoroughly to collect any leftover glitter before it sticks to furniture.
Conclusion
Gold glitter offers endless possibilities for creative expression. By understanding the different types of glitter, preparing your workspace, and mastering applicable techniques, you can create stunning projects that shine bright. Remember to incorporate sealing for longevity and maintain a clean workspace for a worry-free glitter experience. Whether you’re creating greeting cards, decorative vases, or party ornaments, gold glitter will undoubtedly add a touch of charm and sparkle to your DIY adventures. Happy crafting!