


Glitter balloons are a fantastic way to add a touch of sparkle and elegance to weddings and parties. They create a festive atmosphere and can be customized to match any theme or color scheme. In this comprehensive guide, we will walk you through the step-by-step process of making glitter balloons for your special event. Let’s dive into the world of glitter and balloons to create stunning decorations that will dazzle your guests.
## Introduction to Glitter Balloons
Glitter balloons are helium-filled balloons coated with a layer of glitter to give them a glamorous and eye-catching look. These balloons are perfect for adding a bit of glamour to weddings, birthday parties, baby showers, and other special occasions. With just a few simple materials, you can create dazzling glitter balloons that will elevate the decor of any event.
## Materials Needed
Before you start making glitter balloons, make sure you have the following materials ready:
– Latex balloons in your preferred color
– Glitter in various colors
– Glue or adhesive spray
– A bowl or container for mixing glitter
– Ribbon or string for tying the balloons
– Helium tank (optional)
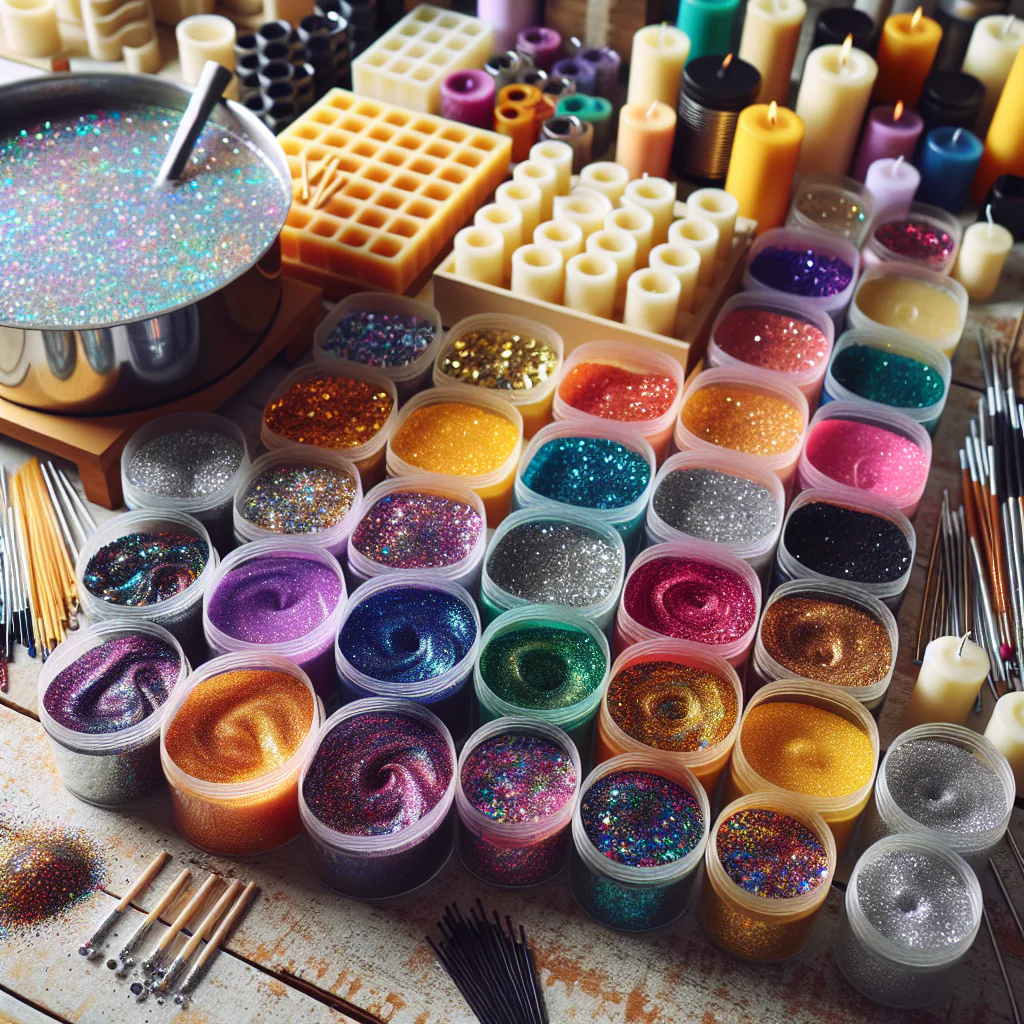
## Step 1: Prepare the Glitter Mixture
To create the glitter mixture, pour a generous amount of glitter into a bowl or container. You can use one color of glitter or mix different colors for a more vibrant effect. Make sure the glitter is evenly distributed in the container for uniform coverage on the balloons.
## Step 2: Apply Glue to the Balloons
Next, apply a thin layer of glue or adhesive spray to the surface of the balloon where you want the glitter to stick. You can apply the glue in a specific pattern or cover the entire balloon for a more dramatic look. Be careful not to use too much glue to prevent it from dripping.
## Step 3: Roll the Balloon in Glitter
Once the glue is applied, gently roll the balloon in the glitter mixture. Ensure that the glitter covers the glued areas evenly. You can roll the balloon multiple times to achieve the desired level of sparkle. Shake off any excess glitter and allow the balloon to dry completely.
## Step 4: Add Ribbon and Helium
After the glittered balloons have dried, attach a ribbon or string to each balloon for easy hanging or carrying. If you prefer floating balloons, fill them with helium using a helium tank. Tie the ribbon securely to the balloon’s knot and adjust the length of the ribbon as needed.
## Step 5: Display and Enjoy
Now that your glitter balloons are ready, it’s time to display them at your event. Hang them from ceilings, create balloon bouquets, or use them as table centerpieces. The shimmering glitter will catch the light and create a magical ambiance, perfect for weddings, parties, and celebrations.
## Conclusion
Making glitter balloons is a fun and creative way to enhance the decor of any event. By following this step-by-step guide, you can create stunning glitter balloons that will impress your guests and add a touch of glamour to your special day. Experiment with different glitter colors and balloon sizes to create unique decorations that suit your event’s theme. Let your creativity shine with glitter balloons and make your celebrations sparkle!